Deploy Agent to Web
Learn how to add your AI agent to your website using the AgentsGT chat widget. This guide will walk you through integrating the agent into any web page.
What is Web Deployment?
Web deployment allows you to embed your AI agent as a chat widget on your website. Visitors can interact with your agent directly on your web pages without leaving your site.
Benefits:
- Instant customer support
- Lead generation and qualification
- Product recommendations
- 24/7 availability
- Seamless user experience
Prerequisites
Before deploying to web, make sure you have:
- ✓ Created and configured your agent
- ✓ Tested your agent and verified responses
- ✓ Access to your website's code or content management system
- ✓ Basic knowledge of HTML (or someone who can help)
Getting the Widget Code
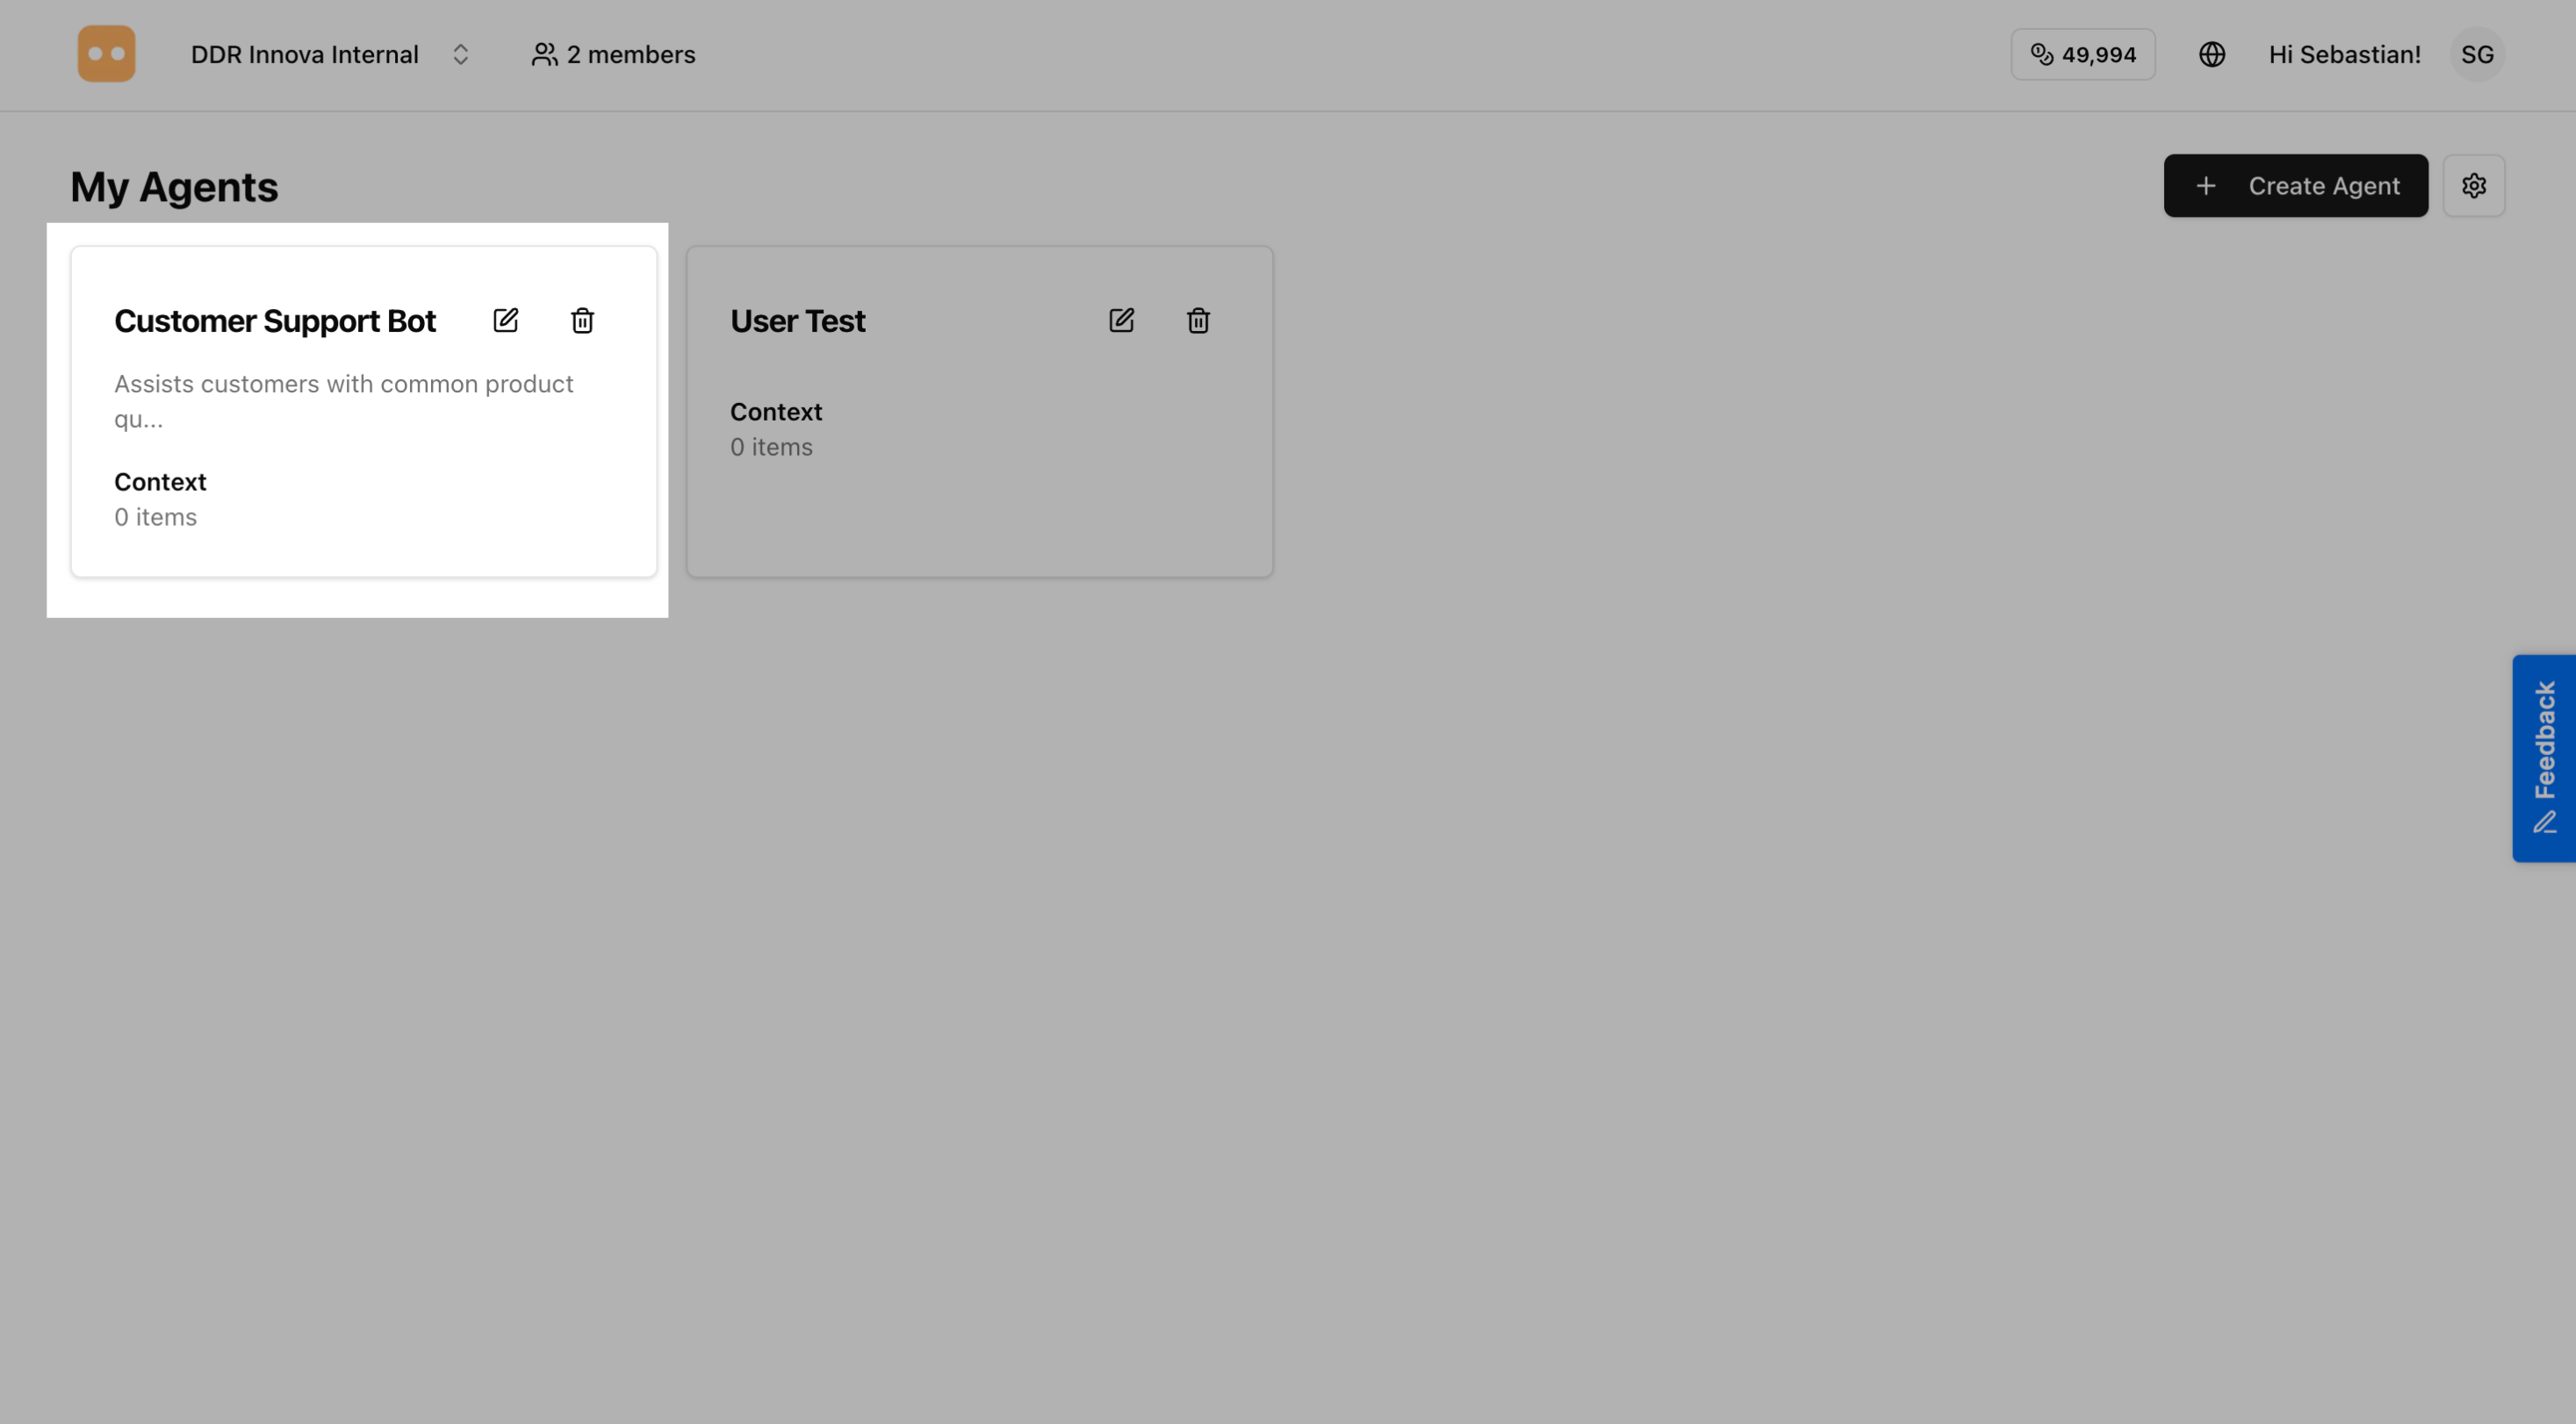
Step 1: Open Your Agent
Go to your agents list and click on the agent you want to add to your website.
Step 2: Go to Integrations
On your agent's page, click on the "Integrations" section.
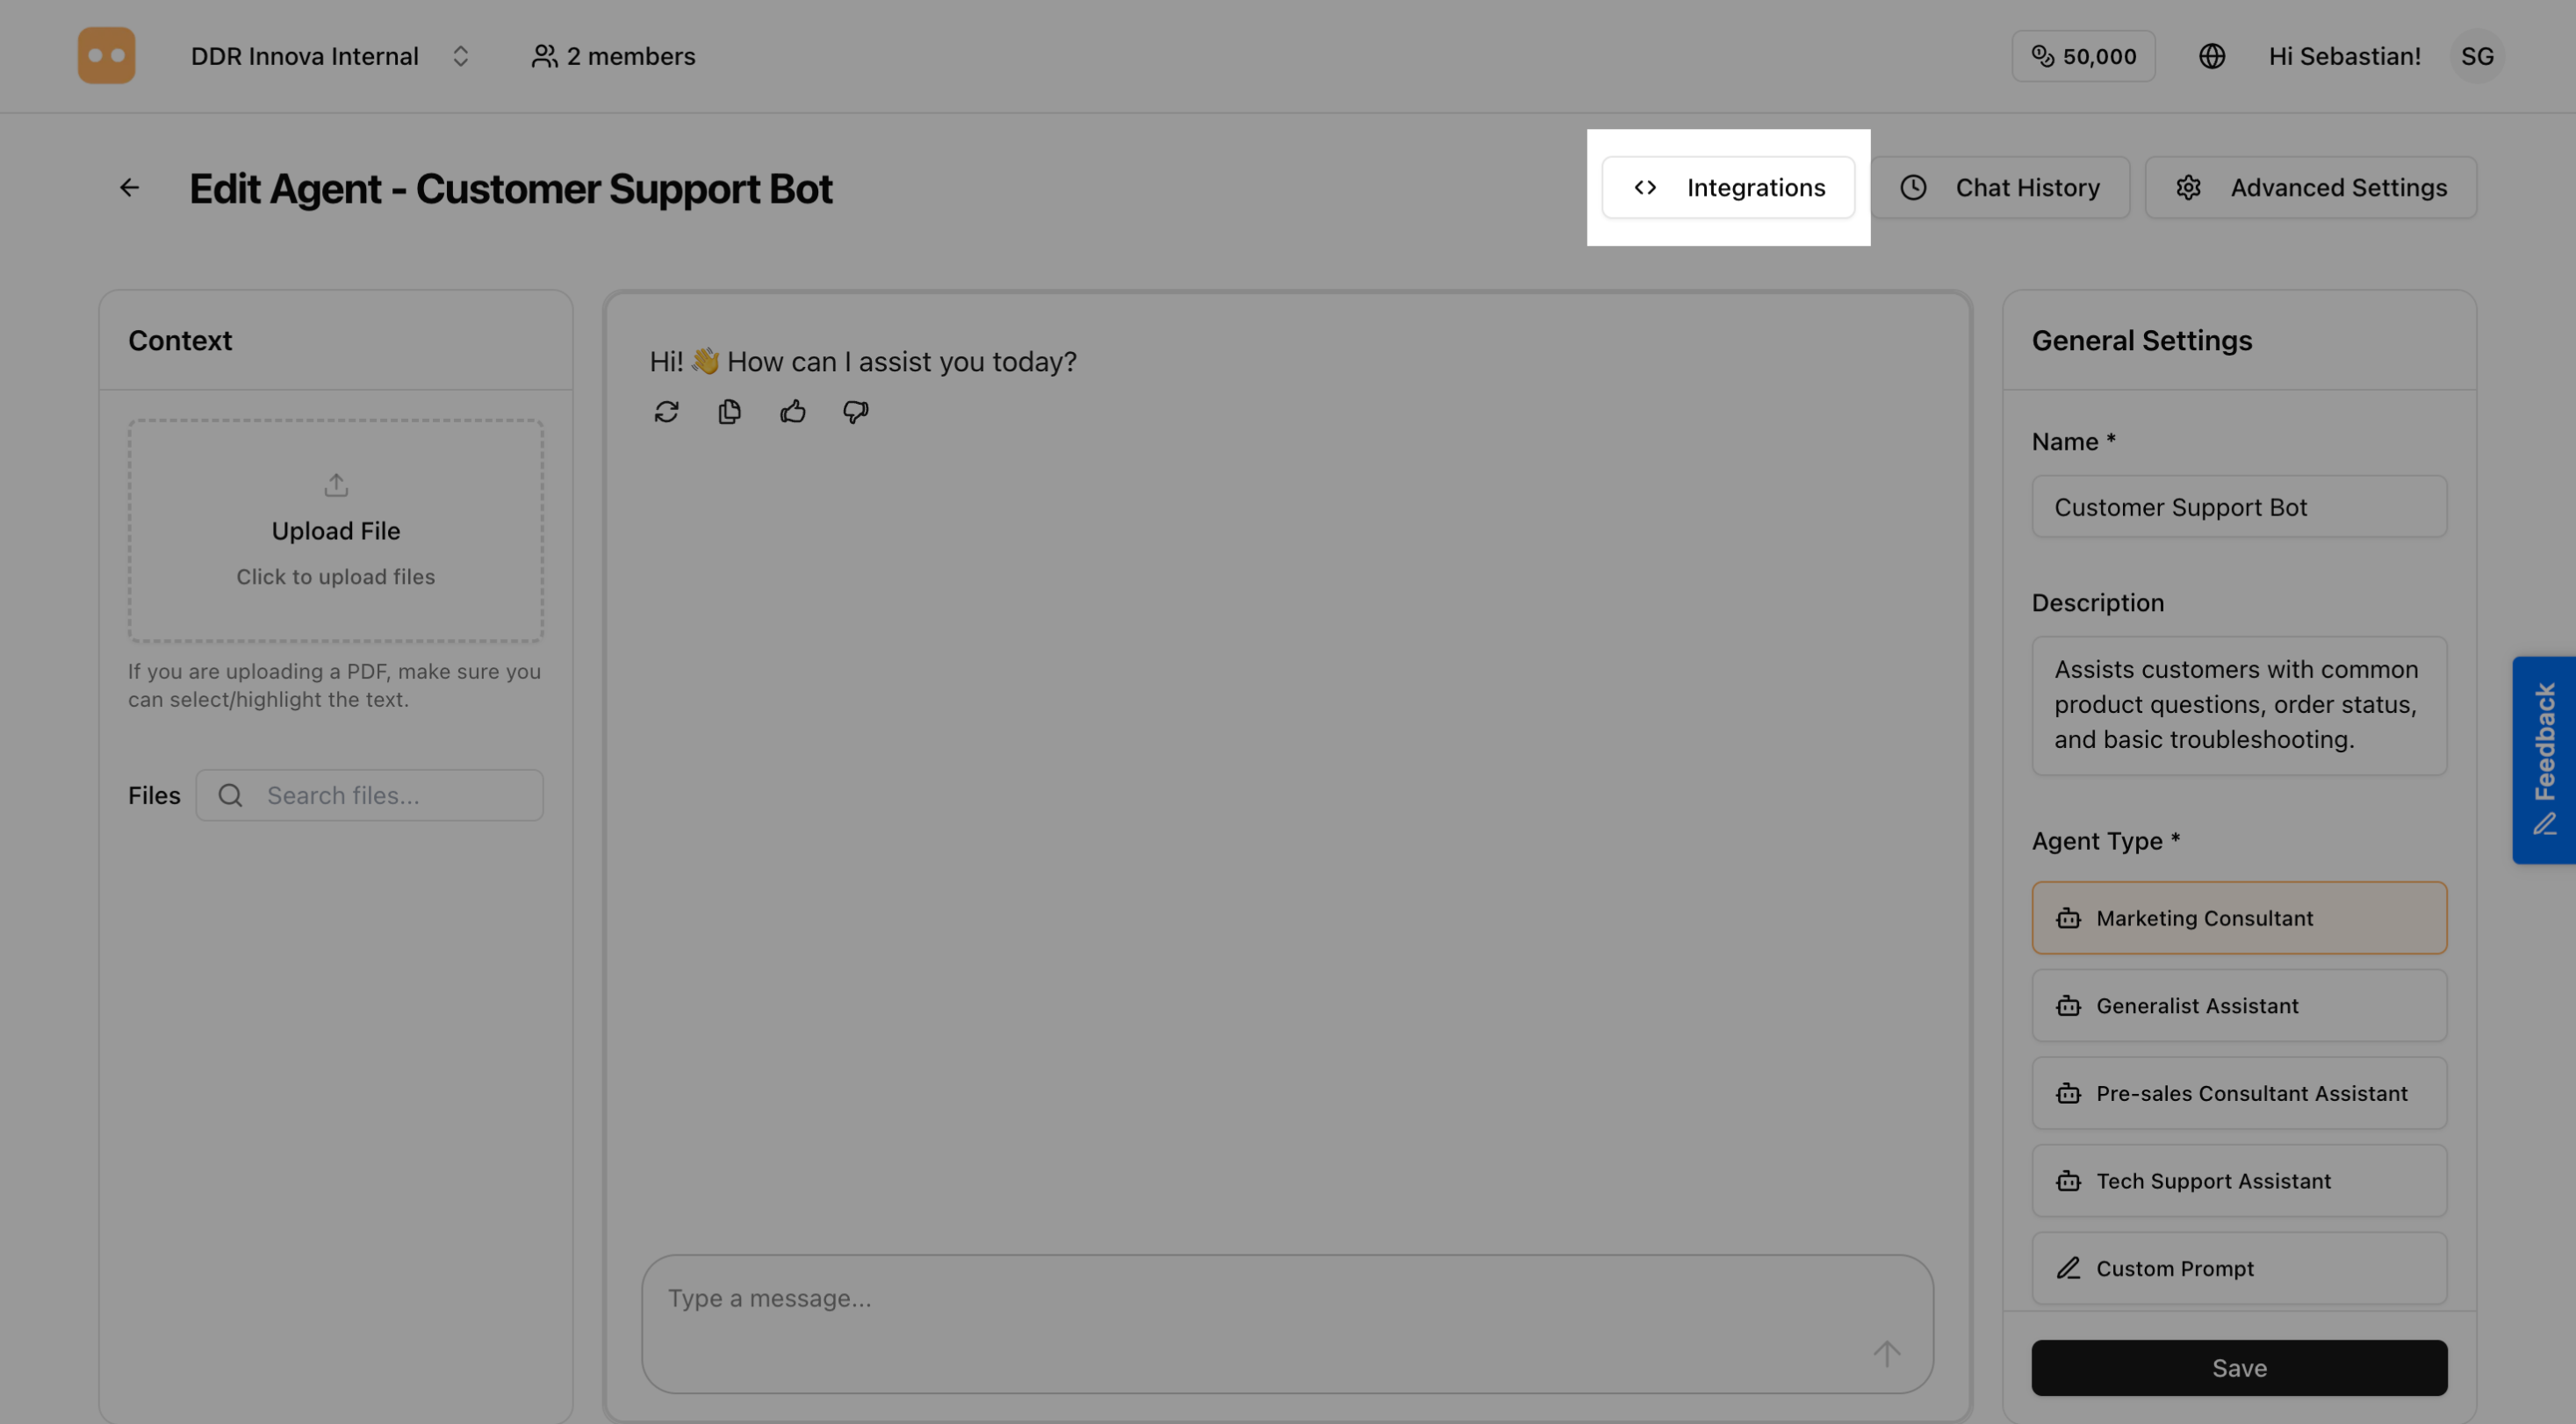
Here you'll find all the ways to connect your agent to different platforms.
Step 3: Click on Embed Code
In the Integrations section, find and click on "Embed Code".
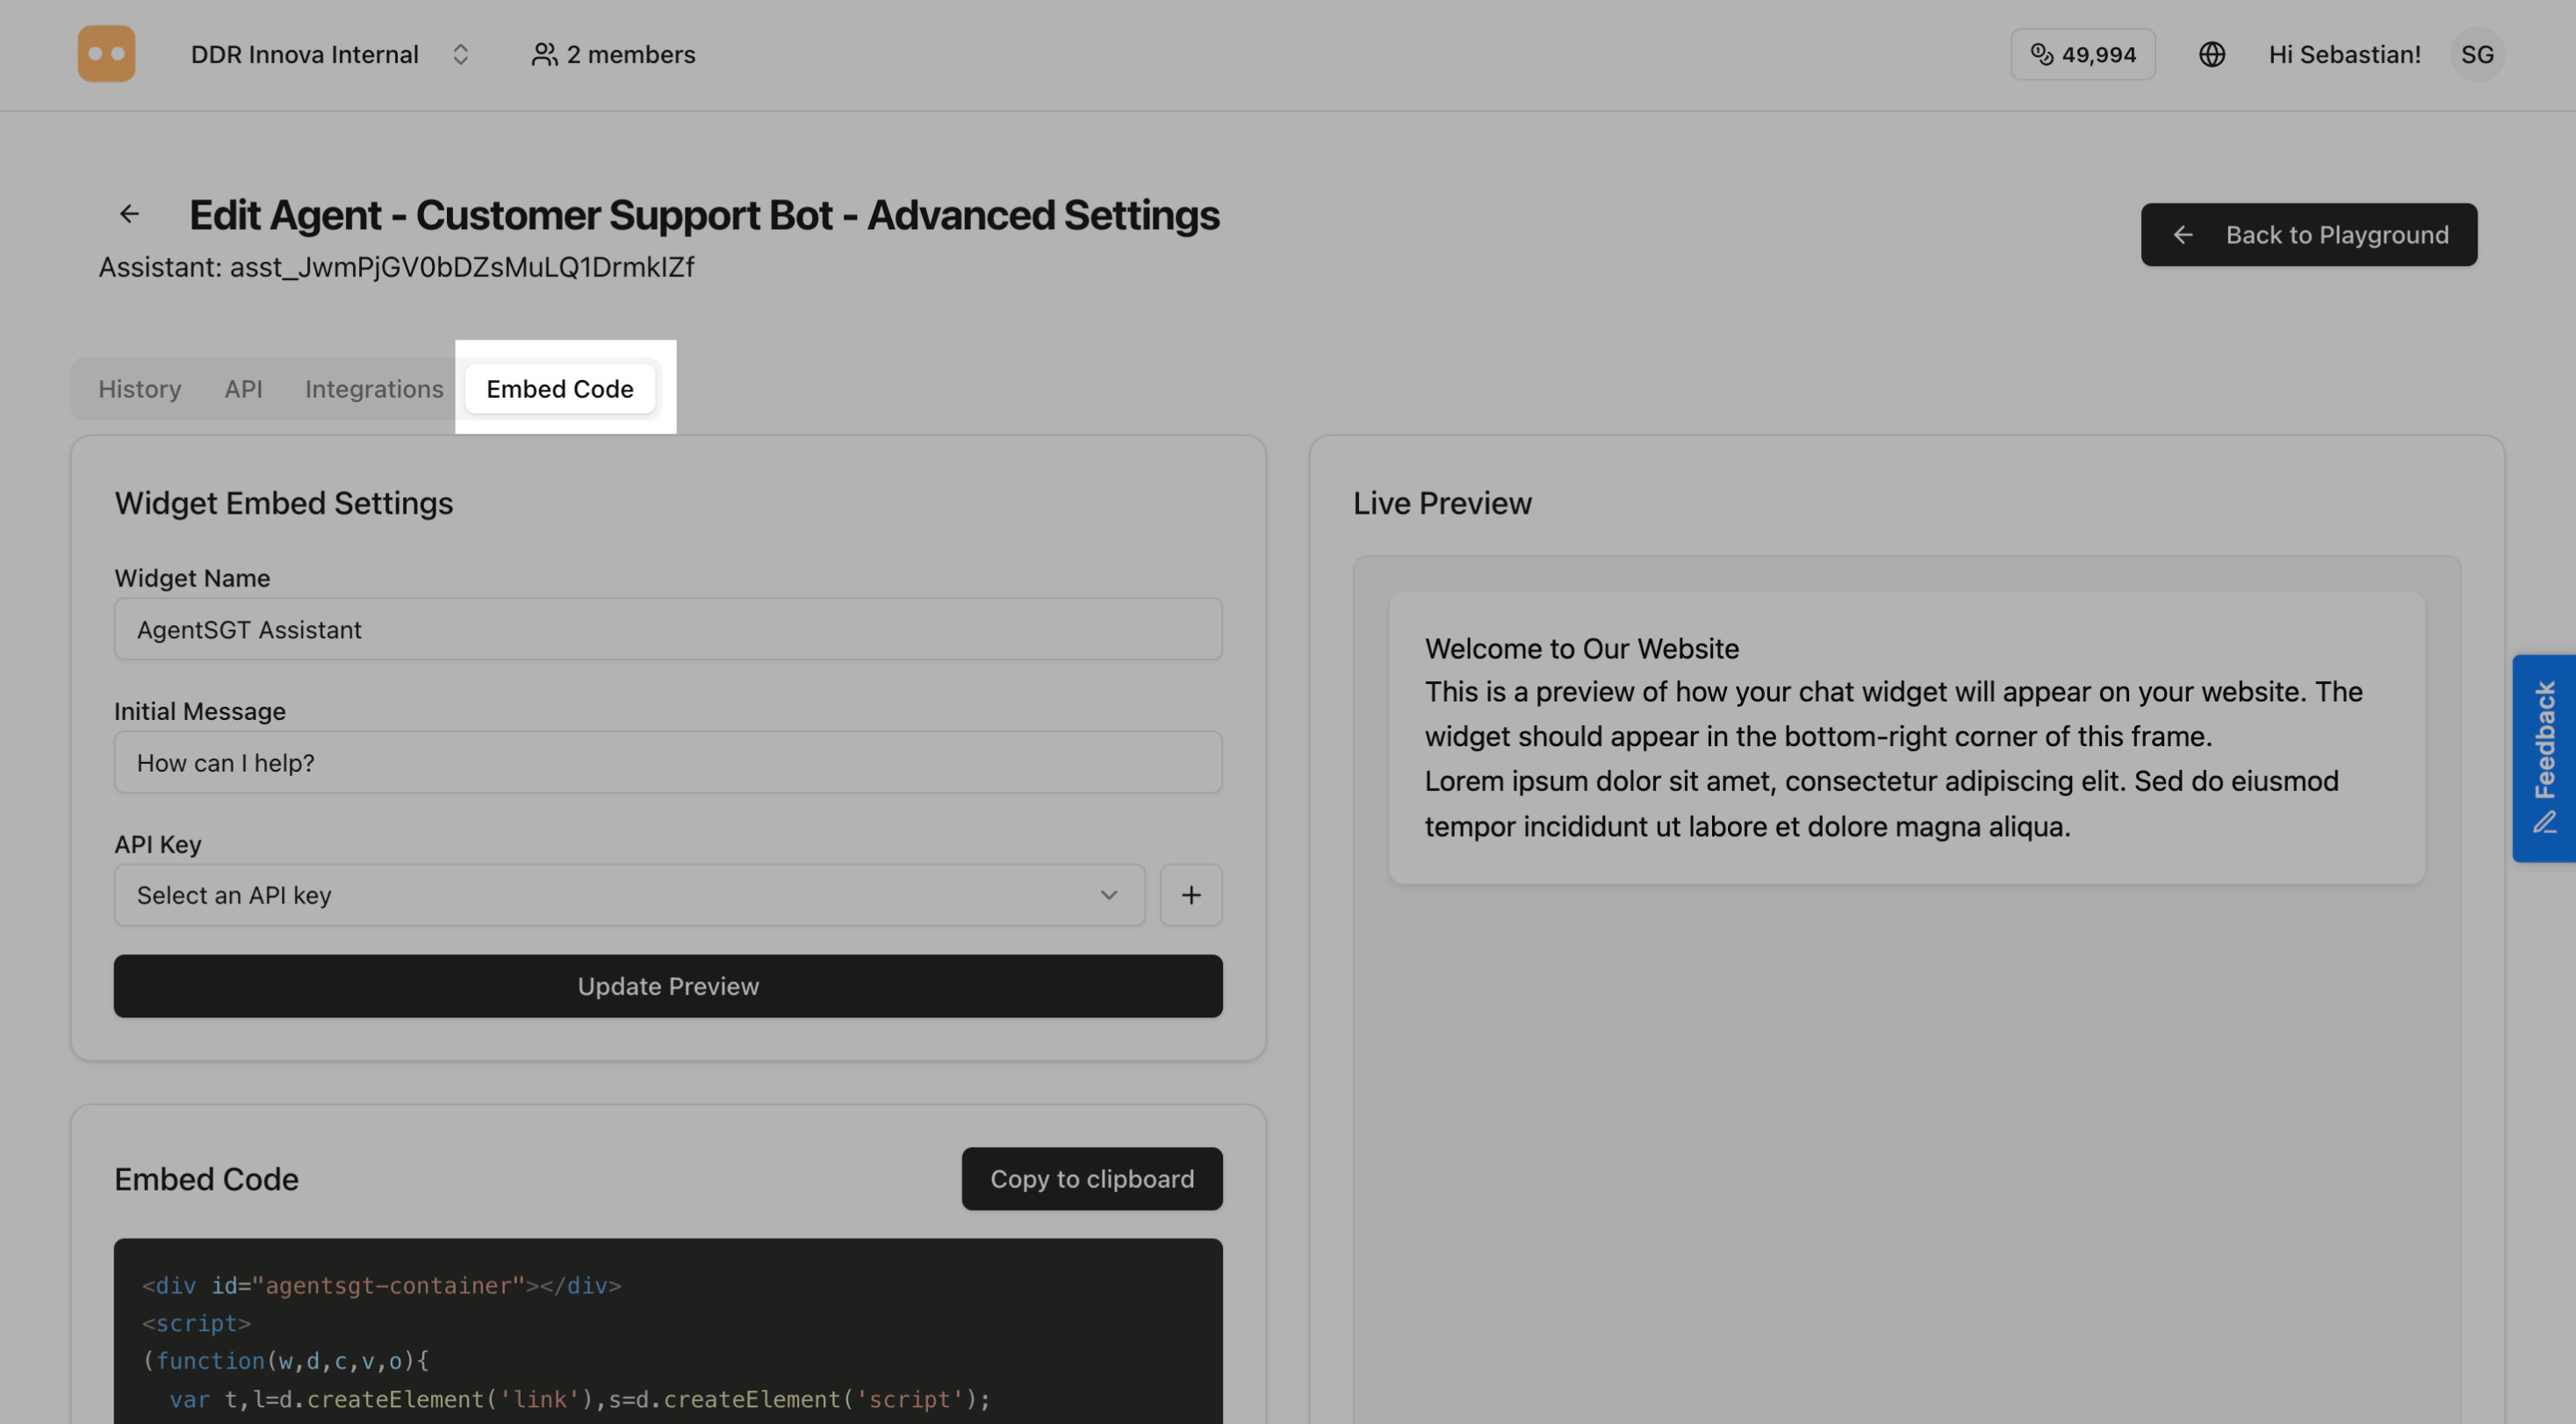
This will show you the code to add your agent to your website.
Step 4: Copy Your Widget Code
Simply click the "Copy Code" button to copy the code to your clipboard.
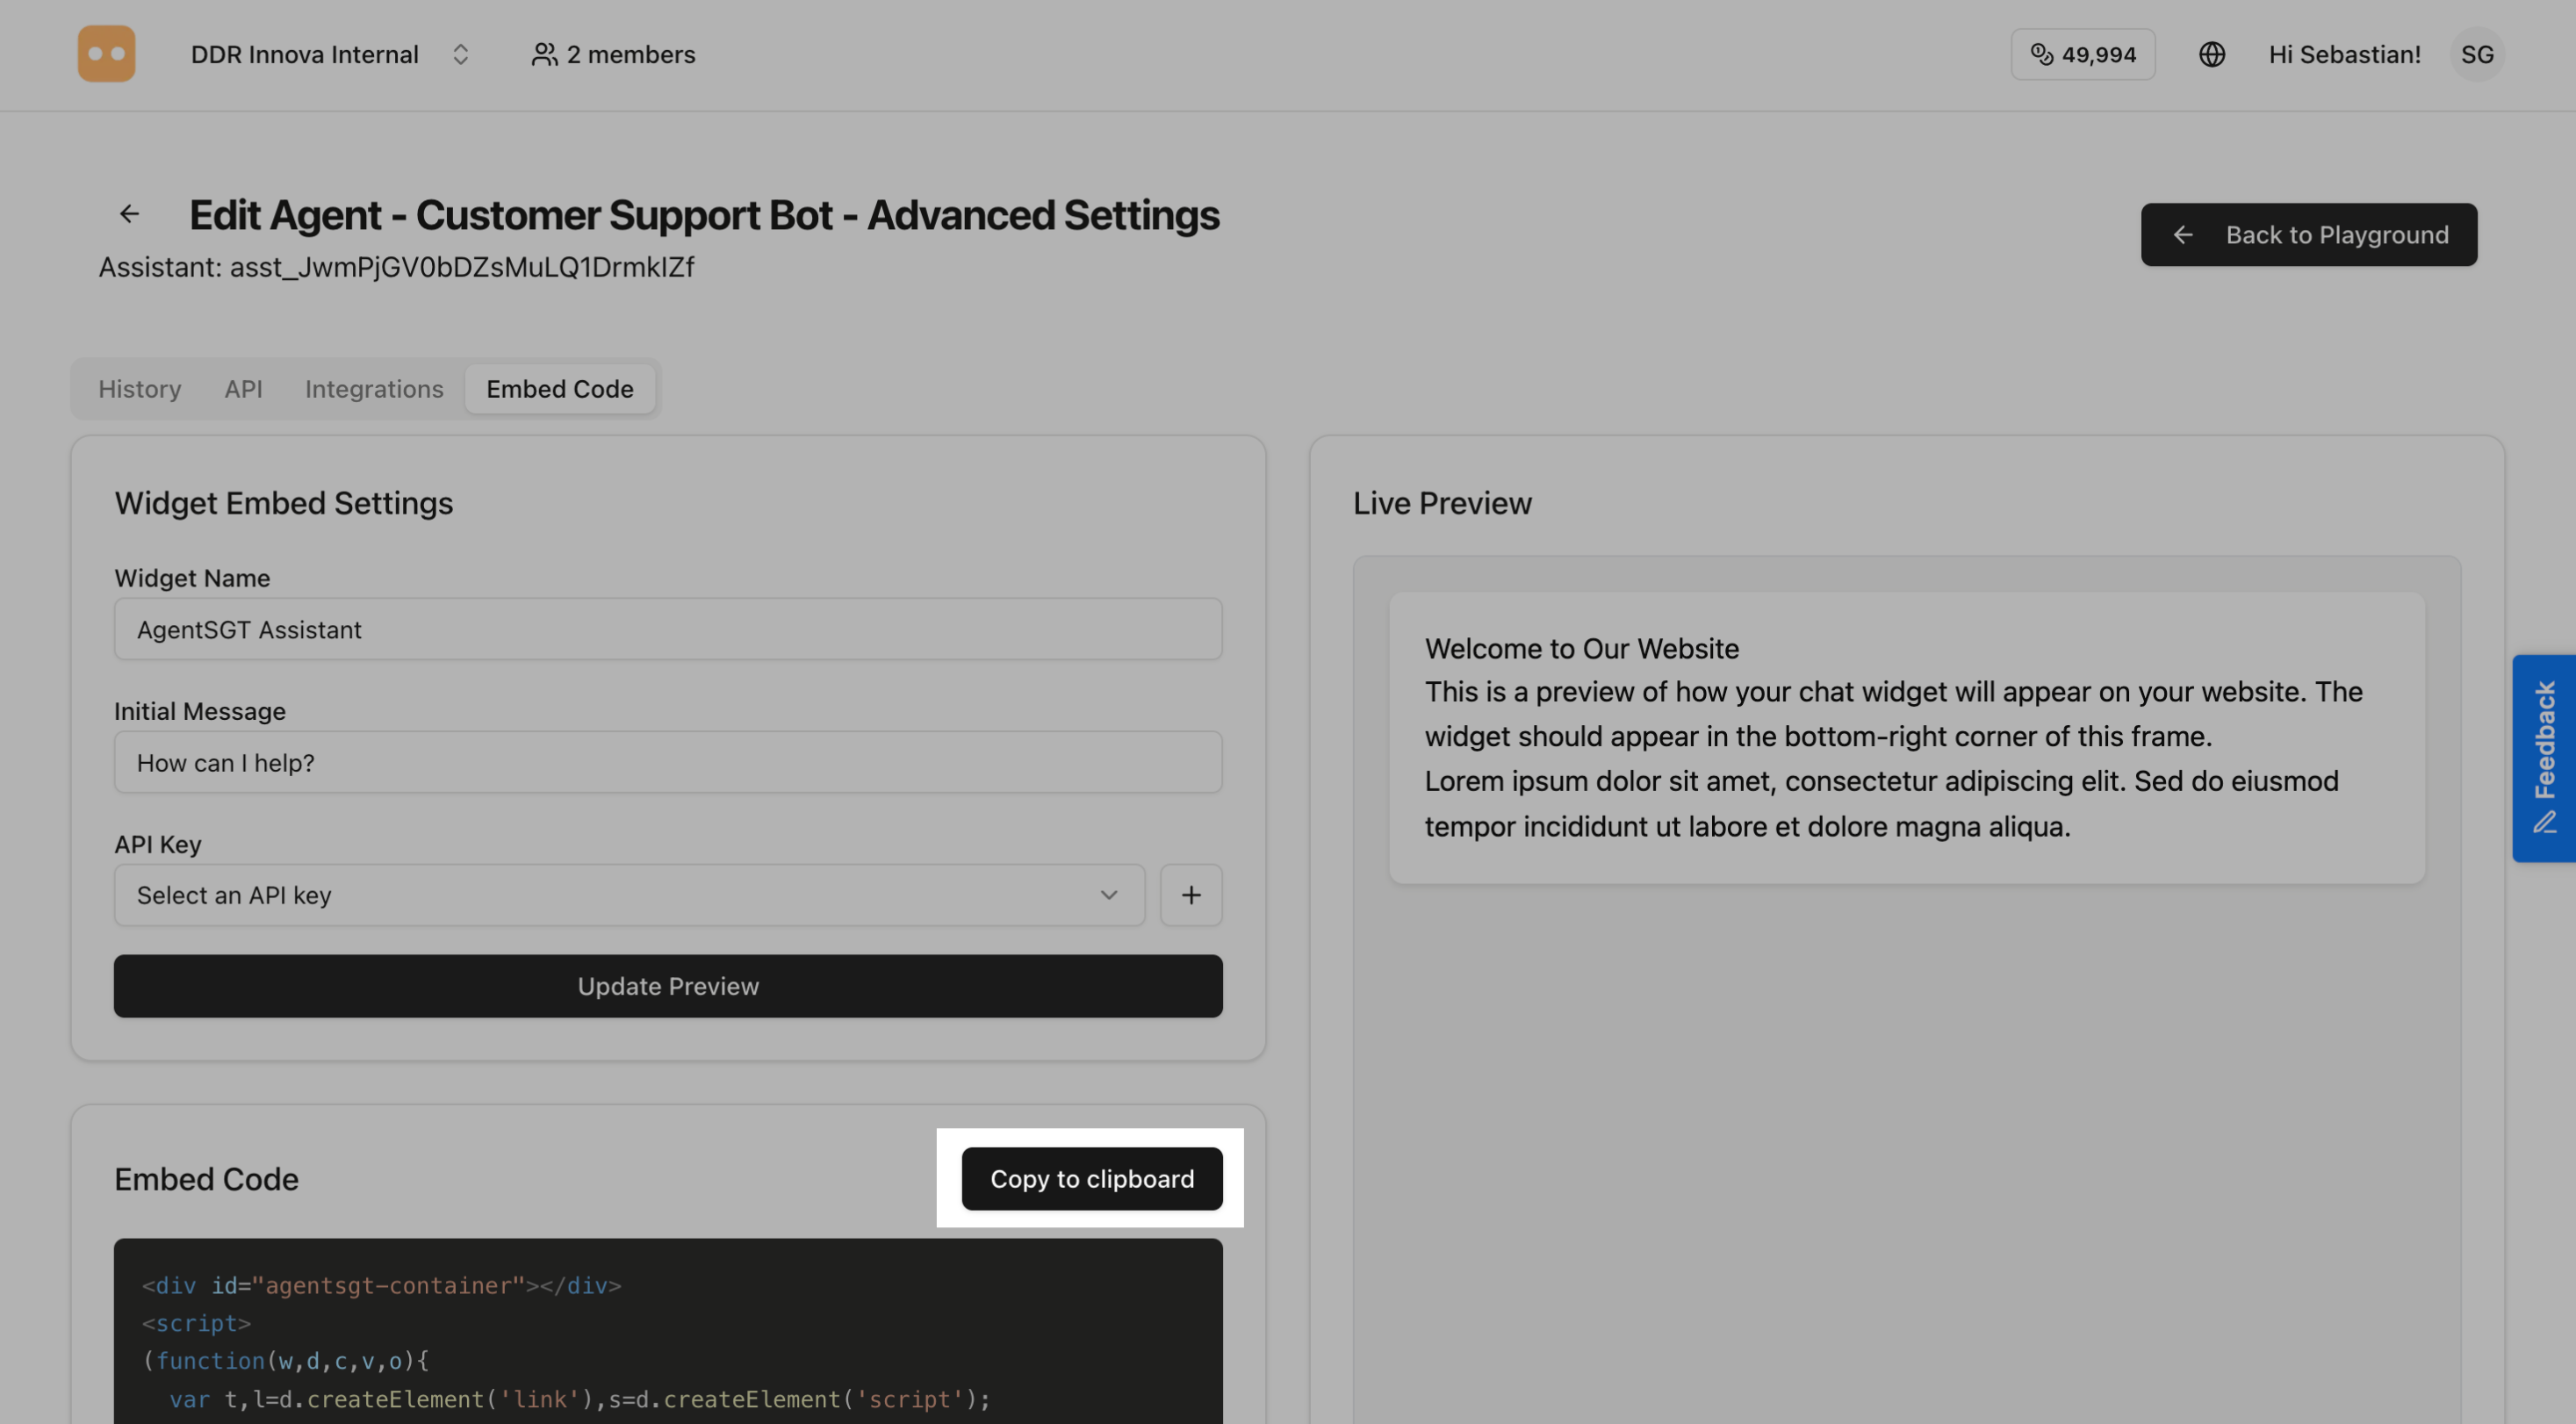
The code will look something like this:
<div id="agentsgt-container"></div>
<script>
(function(w,d,c,v,o){
  var t,l=d.createElement('link'),s=d.createElement('script');
  l.rel='stylesheet';
  l.href = v + '/dist/agentsgt-widget.css';
  s.src = v + '/dist/widget.umd.js';
  l.onload=function(){d.body.appendChild(s)};
  s.onload=function(){w.AgentSGTWidget&&w.AgentSGTWidget.loadWidget(c,o)};
  d.head.appendChild(l)
})(window,document,'agentsgt-container','https://cdn.jsdelivr.net/npm/@ddrinnova/agentsgt-widget@0.0.9',{
  name: 'AgentSGT Assistant',
  initialMessage: 'How can I help?',
  runtimeUrl: 'Your runtime URL',
  basePath: 'https://cdn.jsdelivr.net/npm/@ddrinnova/agentsgt-widget@0.0.9',
  apiKey: 'Your api key'
});
</script>
Adding the Widget to Your Website
Now that you have the code, you need to add it to your website. Choose the method that matches your website platform:
Method 1: Regular Website (HTML)
If you have a regular website or access to HTML files:
Step 1: Open Your Website's HTML File
Find the main HTML file of your website. This is usually called index.html or similar.
Step 2: Paste the Code at the Bottom
Scroll to the bottom of the file and find the </body> tag.
Paste the widget code right before this </body> tag:
    <!-- Your existing HTML content -->

    <!-- AgentsGT Chat Widget -->
    <div id="agentsgt-container"></div>
    <script>
    (function(w,d,c,v,o){
      var t,l=d.createElement('link'),s=d.createElement('script');
      l.rel='stylesheet';
      l.href = v + '/dist/agentsgt-widget.css';
      s.src = v + '/dist/widget.umd.js';
      l.onload=function(){d.body.appendChild(s)};
      s.onload=function(){w.AgentSGTWidget&&w.AgentSGTWidget.loadWidget(c,o)};
      d.head.appendChild(l)
    })(window,document,'agentsgt-container','https://cdn.jsdelivr.net/npm/@ddrinnova/agentsgt-widget@0.0.9',{
      name: 'AgentSGT Assistant',
      initialMessage: 'How can I help?',
      runtimeUrl: 'Your runtime URL',
      basePath: 'https://cdn.jsdelivr.net/npm/@ddrinnova/agentsgt-widget@0.0.9',
      apiKey: 'Your api key'
    });
    </script>
  </body>
</html>
Step 3: Save and See It Live
- Save your HTML file
- Upload it to your web server (if editing locally)
- Visit your website - you should see the chat widget appear!
Method 2: WordPress Website
If your website uses WordPress, it's even easier:
Using a Plugin (Easiest Way)
- In your WordPress admin, go to Plugins → Add New
- Search for "Insert Headers and Footers" or "Code Snippets"
- Install and activate the plugin
- Go to the plugin's settings page
- Paste your widget code in the Footer section
- Click Save
- Visit your website to see the widget!
Why use a plugin? It's safer and won't be lost when you update your theme.
Method 3: Shopify Store
If you have a Shopify store:
- In your Shopify admin, go to Online Store → Themes
- Click Actions → Edit Code
- Find and click on theme.liquid in the Layout folder
- Scroll down and find the
</body>tag - Paste your widget code right before
</body> - Click Save
- Visit your store to see the widget!
Method 4: Other Website Platforms
Wix:
- Go to Settings → Custom Code
- Click + Add Custom Code
- Paste your widget code
- Choose Body - End
- Apply to All Pages
- Click Apply
Squarespace:
- Go to Settings → Advanced → Code Injection
- Paste your code in the Footer box
- Click Save
Webflow:
- Go to Project Settings → Custom Code
- Paste your code in the Footer Code box
- Click Save
- Publish your site
Google Tag Manager:
- Create a new tag called "AgentsGT Widget"
- Choose Custom HTML as tag type
- Paste your widget code
- Set trigger to All Pages
- Save and publish
Testing Your Widget
Make Sure Everything Works
After adding the code, it's important to test that everything is working correctly.
1. Check if the Widget Appears
Open your website in a browser. You should see a small chat bubble (usually in the bottom-right corner).
If you don't see it:
- Refresh the page (Ctrl+R or Cmd+R)
- Clear your browser cache
- Make sure you saved your changes
2. Test the Chat
Click on the chat bubble to open it.
Try these things:
- Send a test message
- Check if your agent responds
- Close and reopen the widget
- Make sure it looks good on your website
3. Test on Your Phone
Open your website on your phone to make sure the widget works on mobile devices too!
The widget should automatically adjust to fit smaller screens.
Common Issues and Solutions
Widget Not Showing Up?
If you don't see the widget on your website:
- Refresh your browser - Press Ctrl+R (Windows) or Cmd+R (Mac)
- Clear your cache - Sometimes old versions are cached
- Check if you saved - Make sure you saved the file with the code
- Look for the code - Verify the code is actually on your website
- Check your agent - Make sure your agent is active in AgentsGT
Widget Not Responding?
If the widget appears but doesn't respond:
- Check your agent status - Go to AgentsGT and make sure your agent is active
- Verify your credits - Make sure you have credits available
- Test your agent - Try chatting with it directly in AgentsGT first
Need to Remove the Widget?
Simply delete the code you added to your website and save the file. The widget will disappear.
What's Next?
Congratulations! Your AI agent is now live on your website. 🎉
You can now:
- Deploy to WhatsApp - Let customers chat with your agent on WhatsApp
- Widget Integration - Learn advanced integration for developers
- API Reference - Connect your agent to other systems
Need help? If something isn't working, contact support and include:
- Your website URL
- What's not working
- Screenshots if possible