Creating Your First Agent
Learn how to create and customize an AI agent in AgentsGT. This guide will walk you through every step of the agent creation process.
What is an Agent?
An AI agent is your customized conversational assistant powered by advanced language models. You can configure agents with specific knowledge, personality, and capabilities to handle different tasks like customer support, sales assistance, or technical help.
Starting the Agent Creation Process
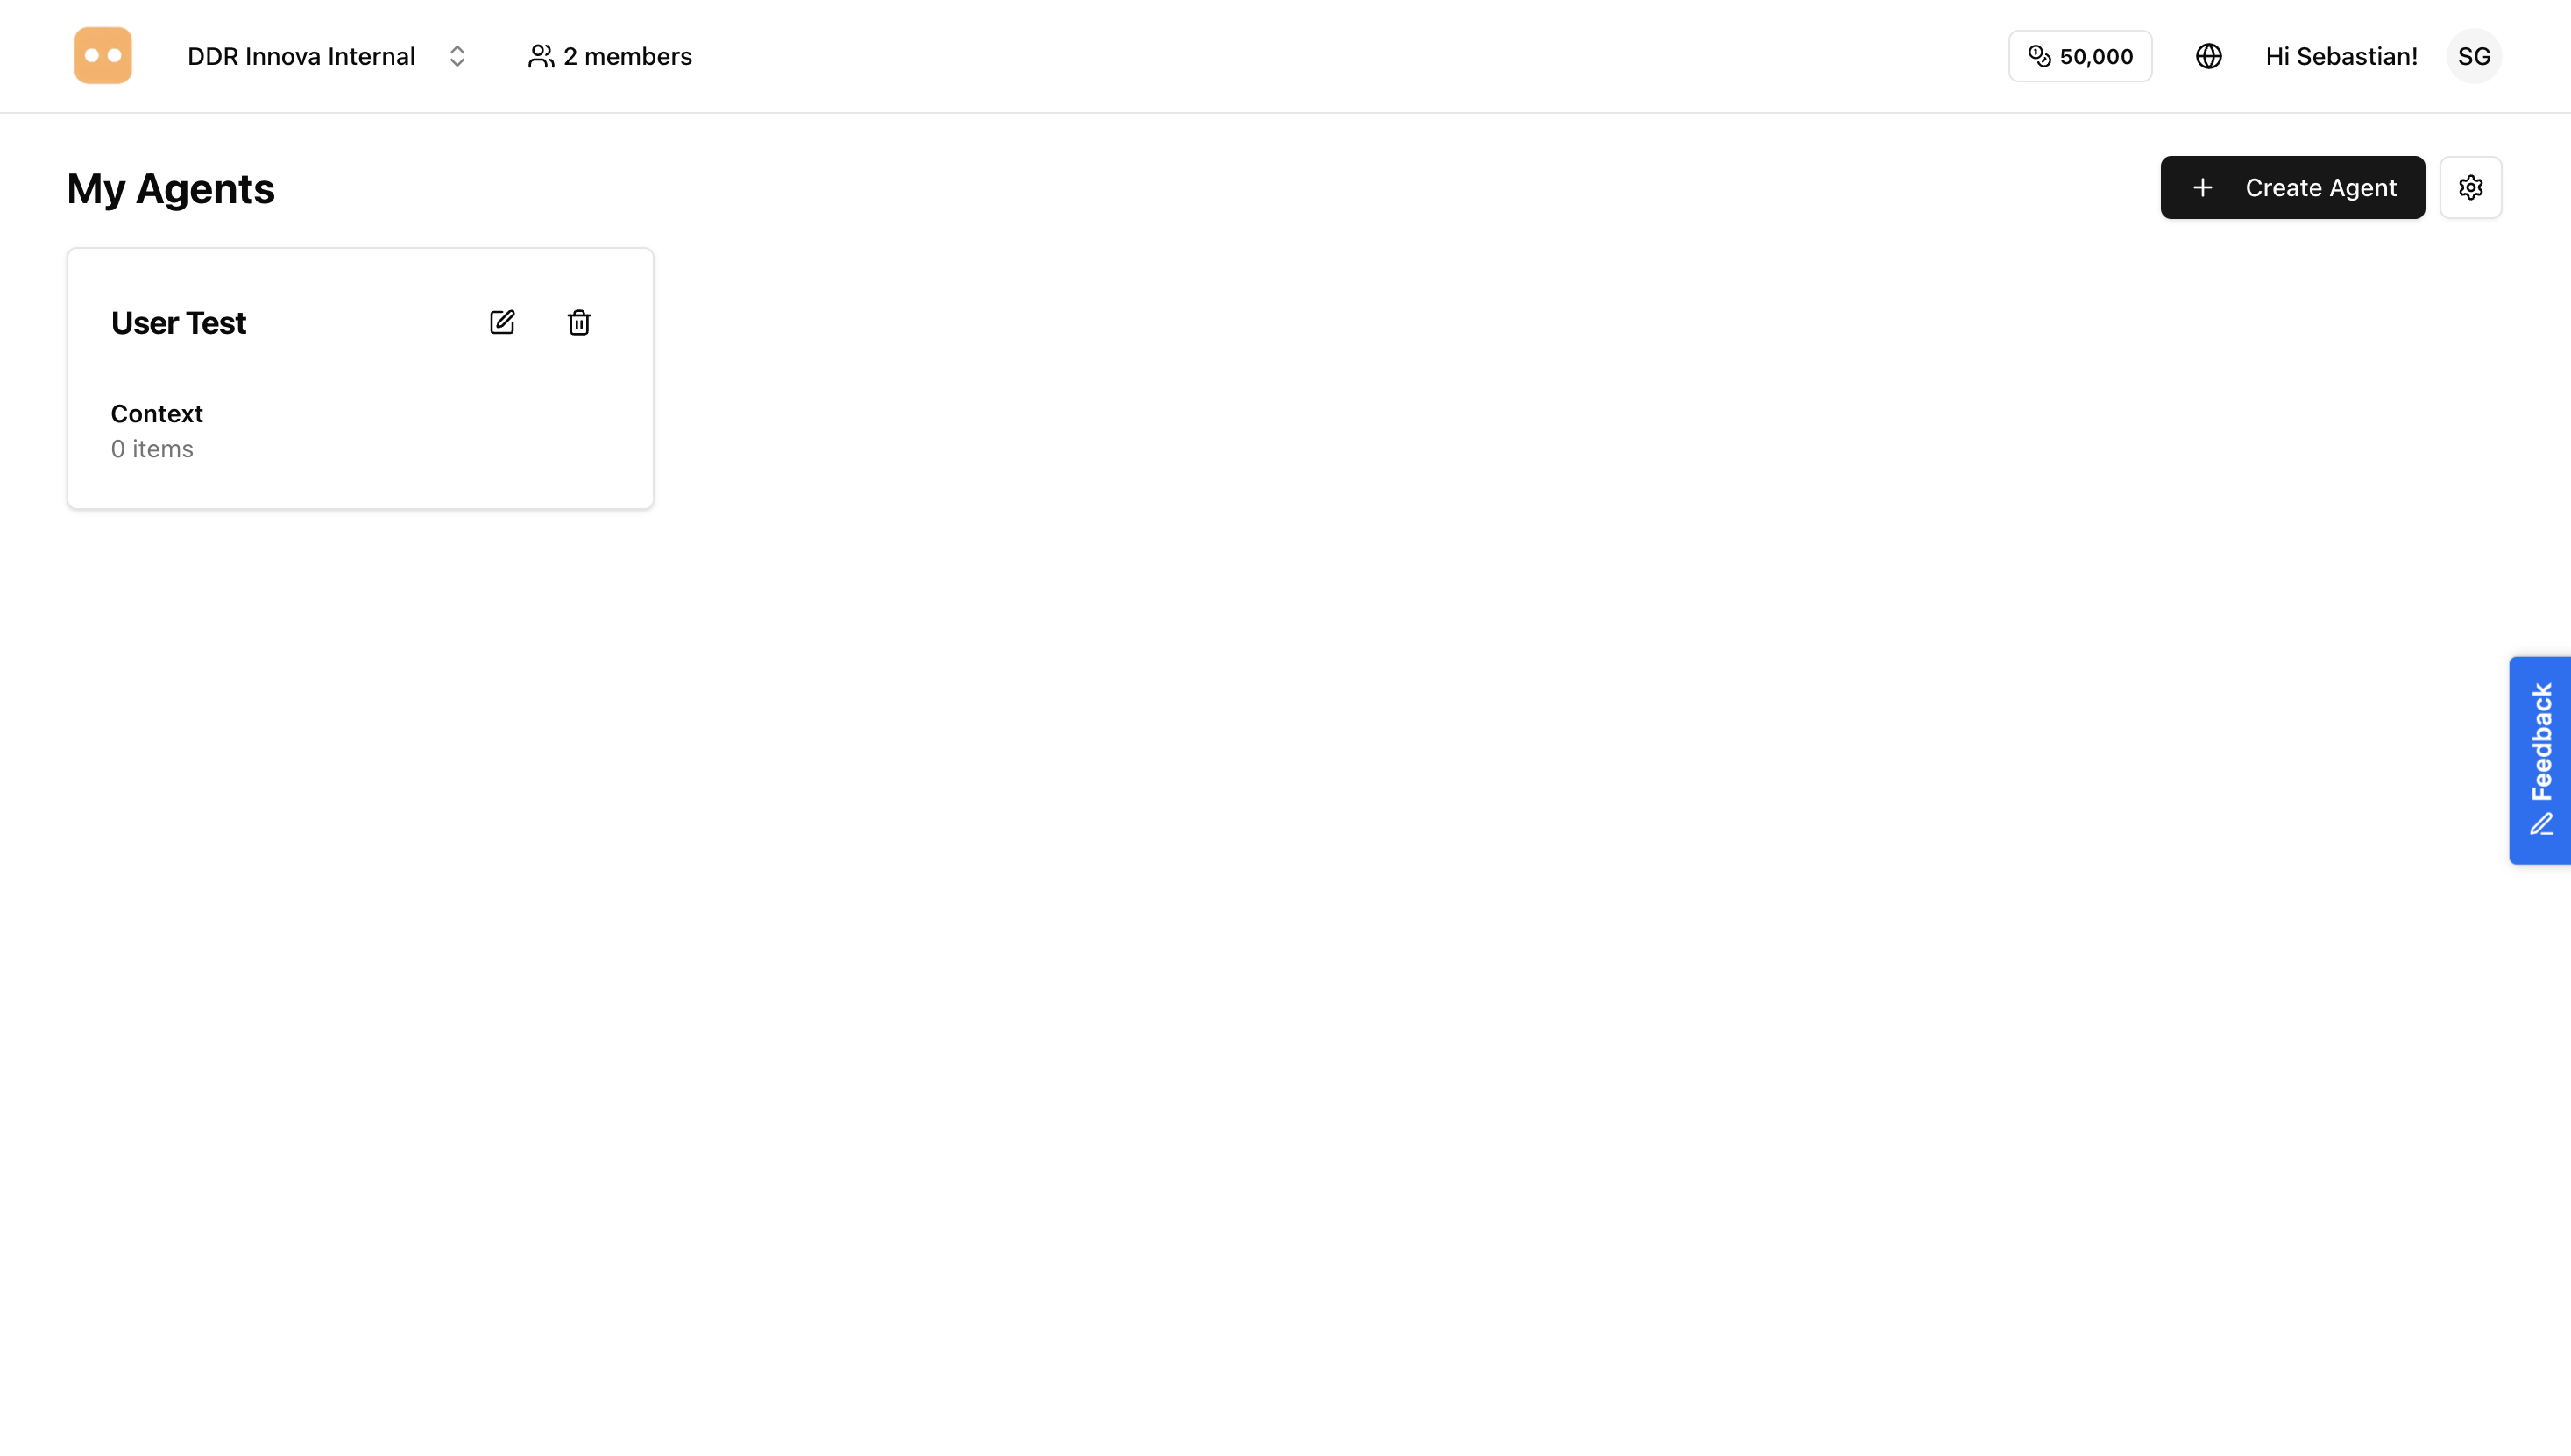
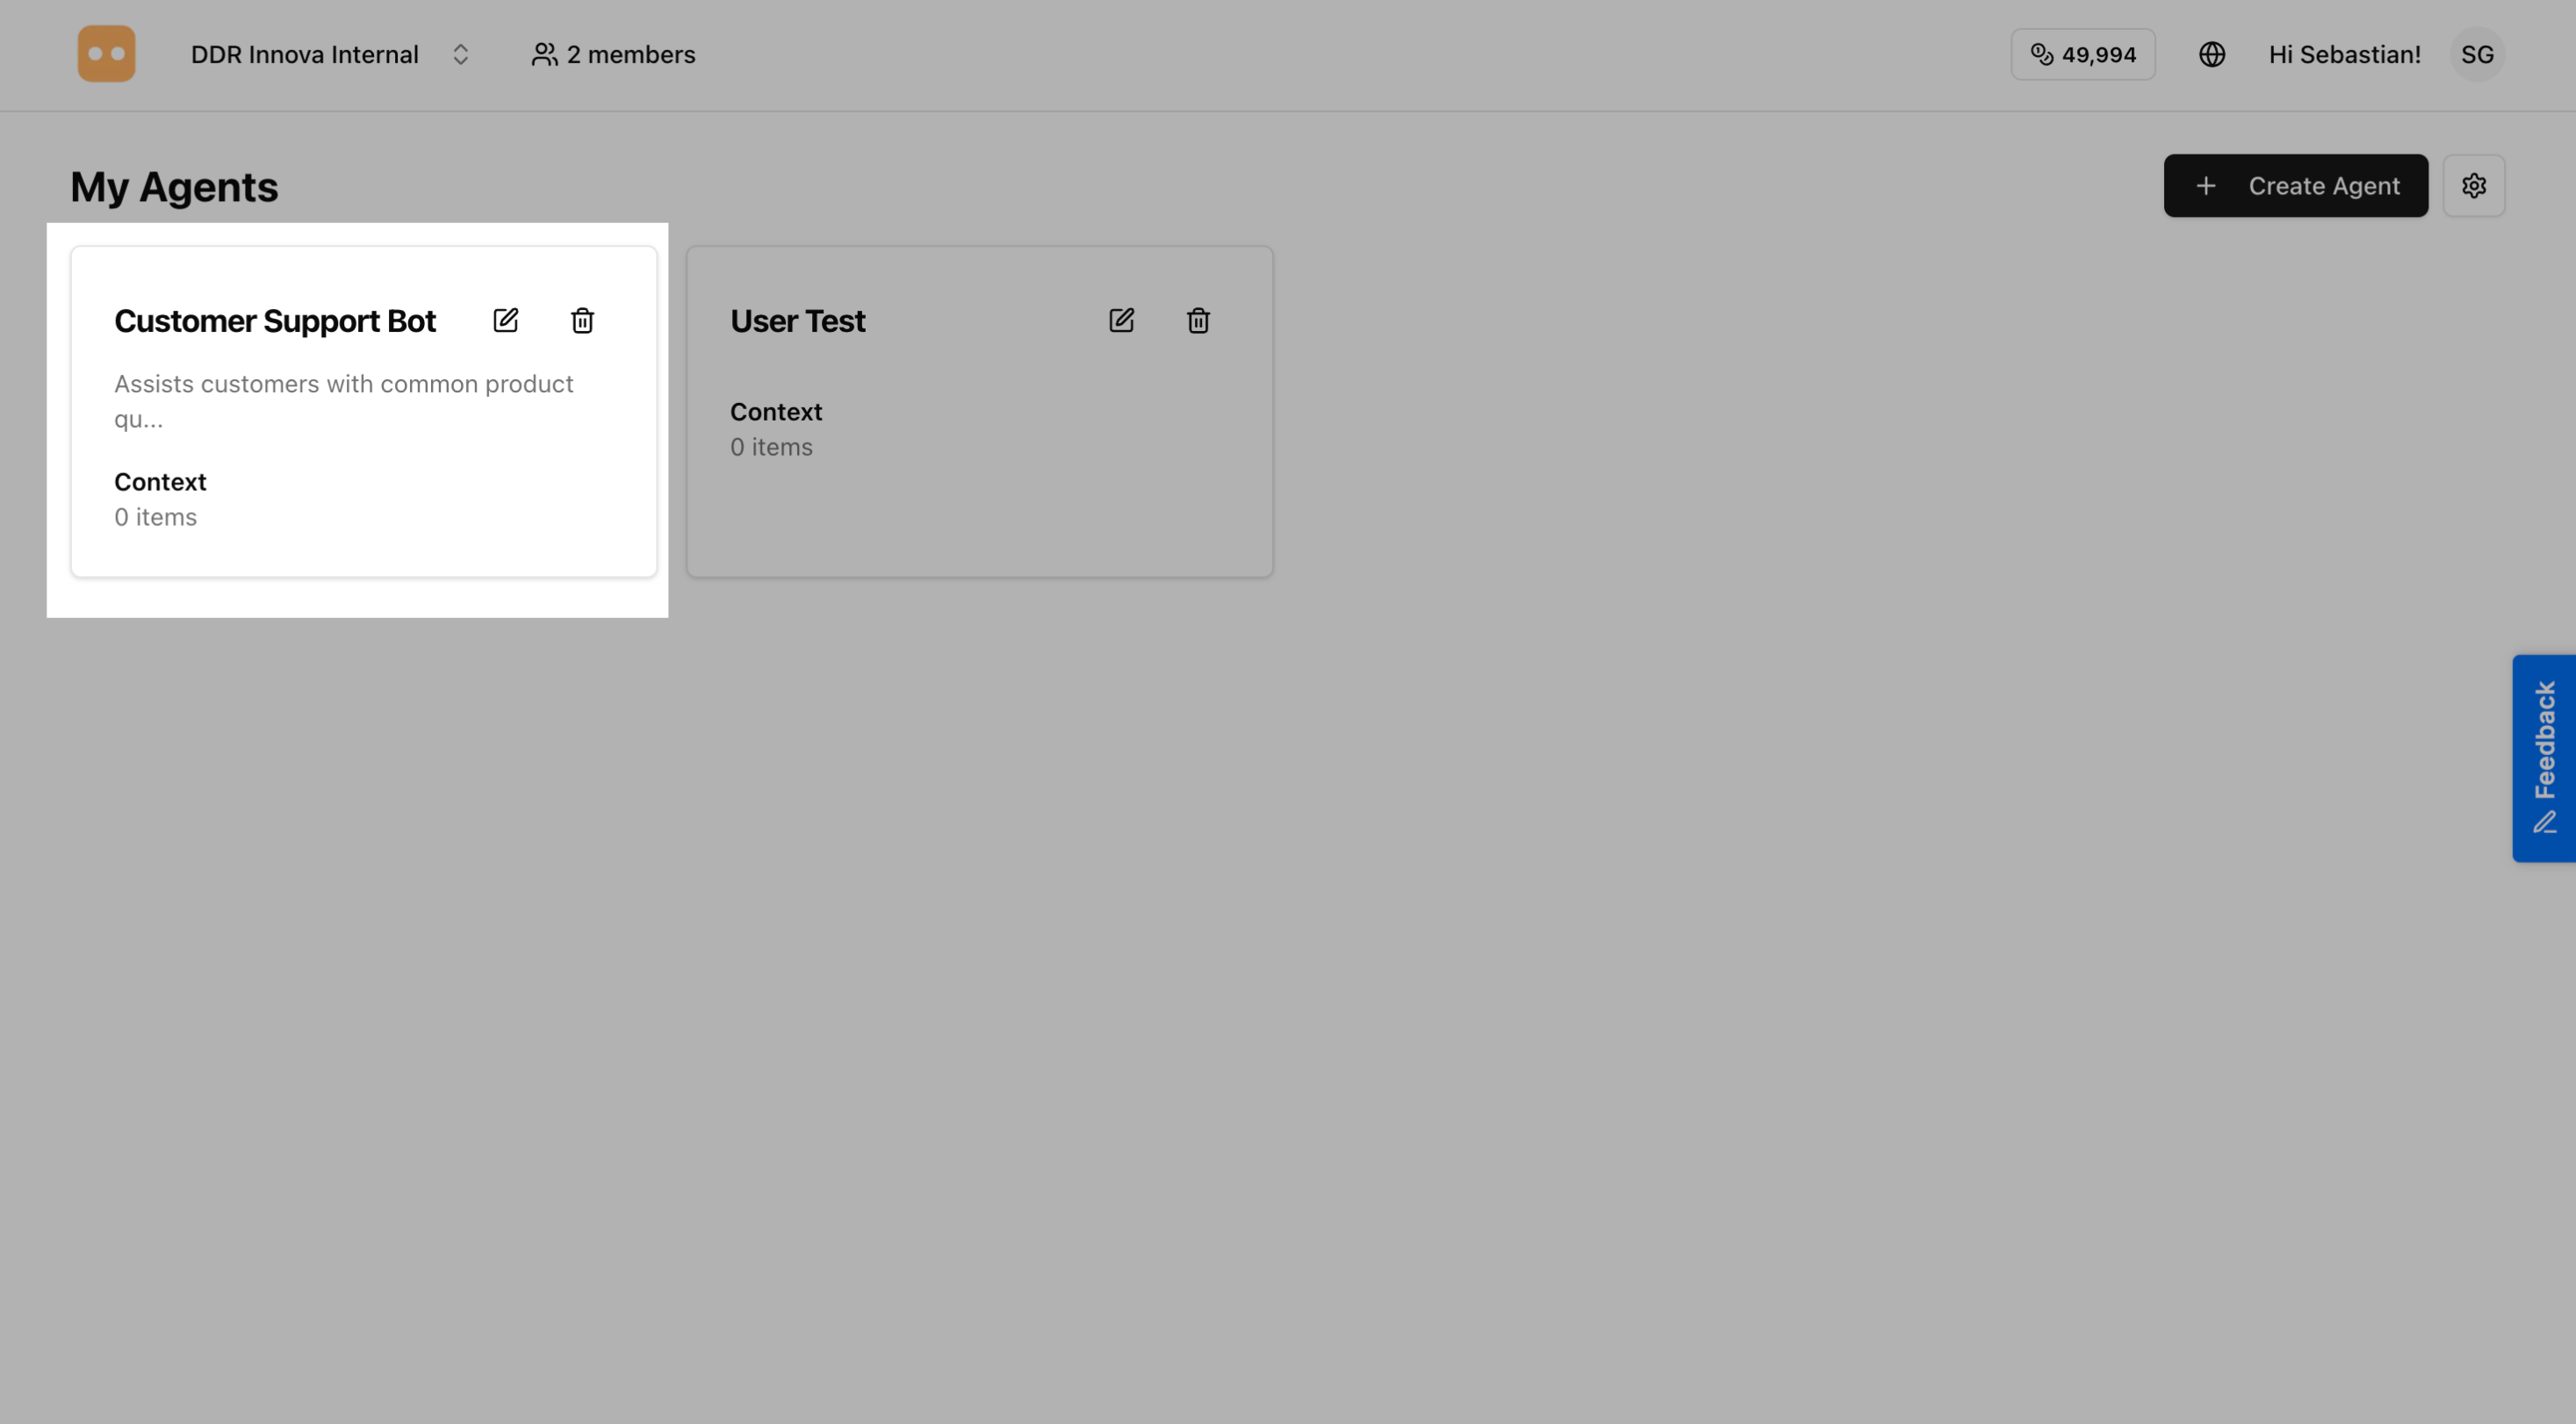
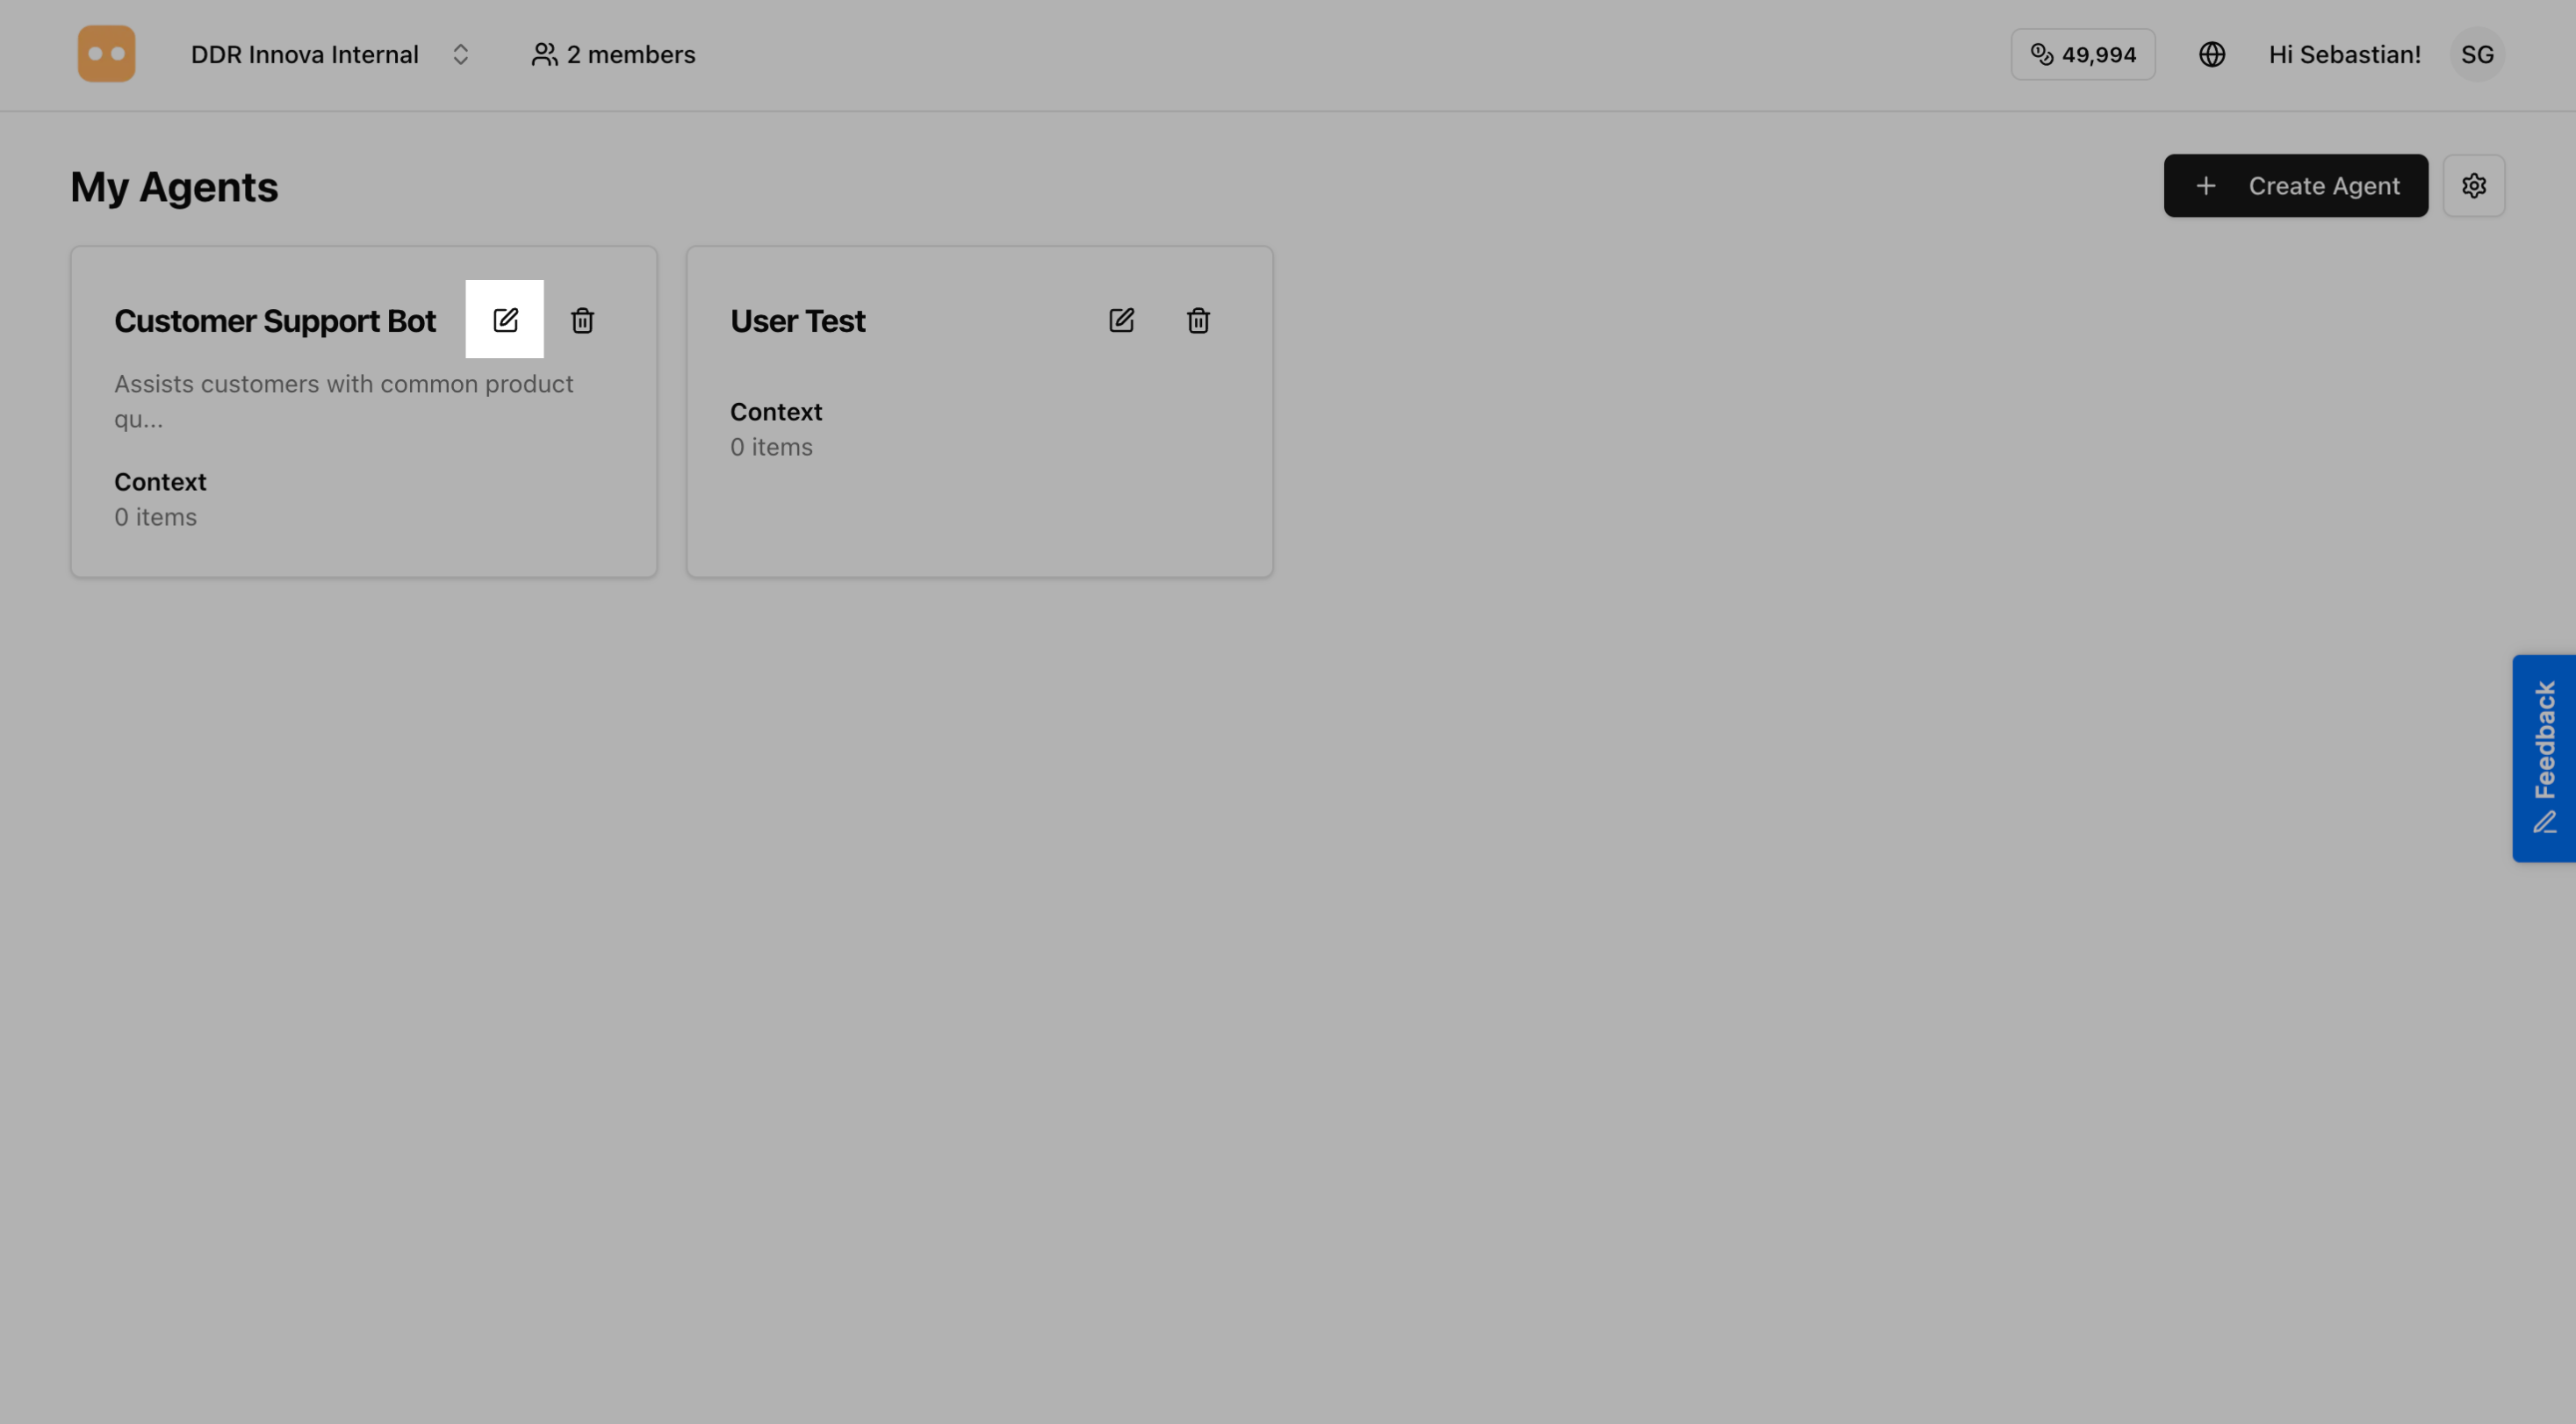
Step 1: Access the Agents Section
In your dashboard, see your agents overview page where you can see all your existing agents.
Step 2: Click Create New Agent
On the agents page, find and click the "Create Agent" or "+ New Agent" button, typically located in the top-right corner.
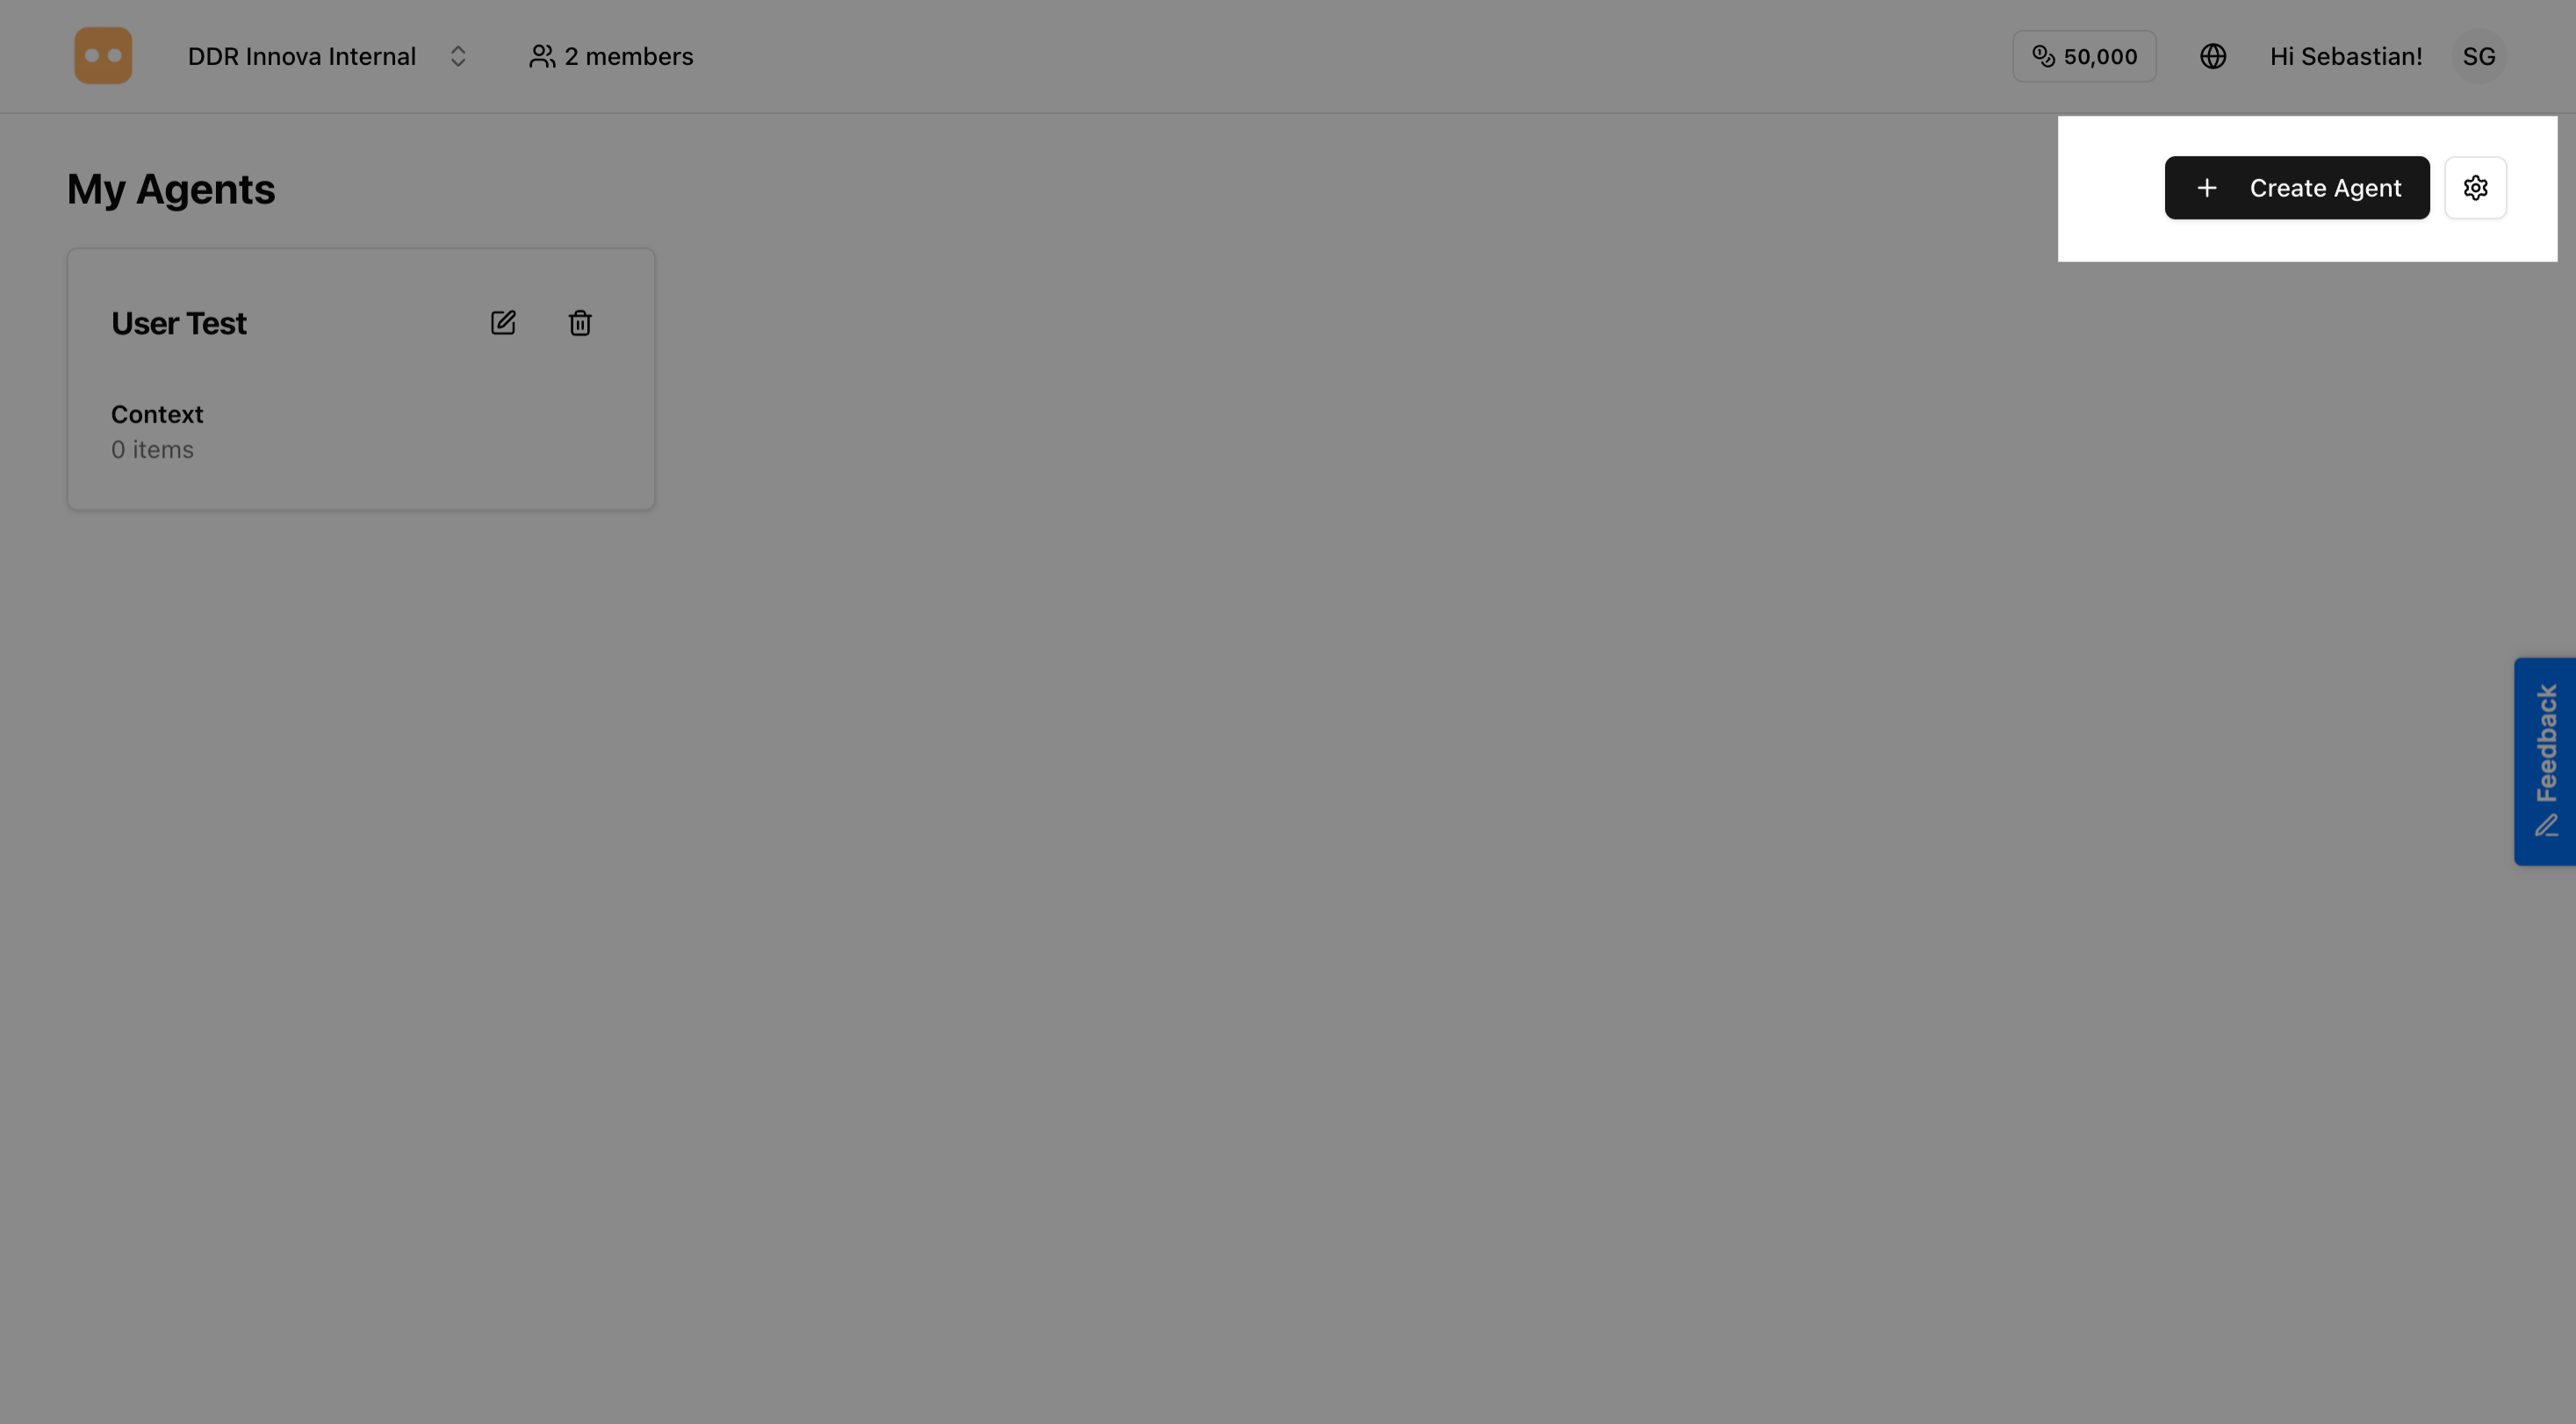
This opens the agent creation form.
Configuring Your Agent
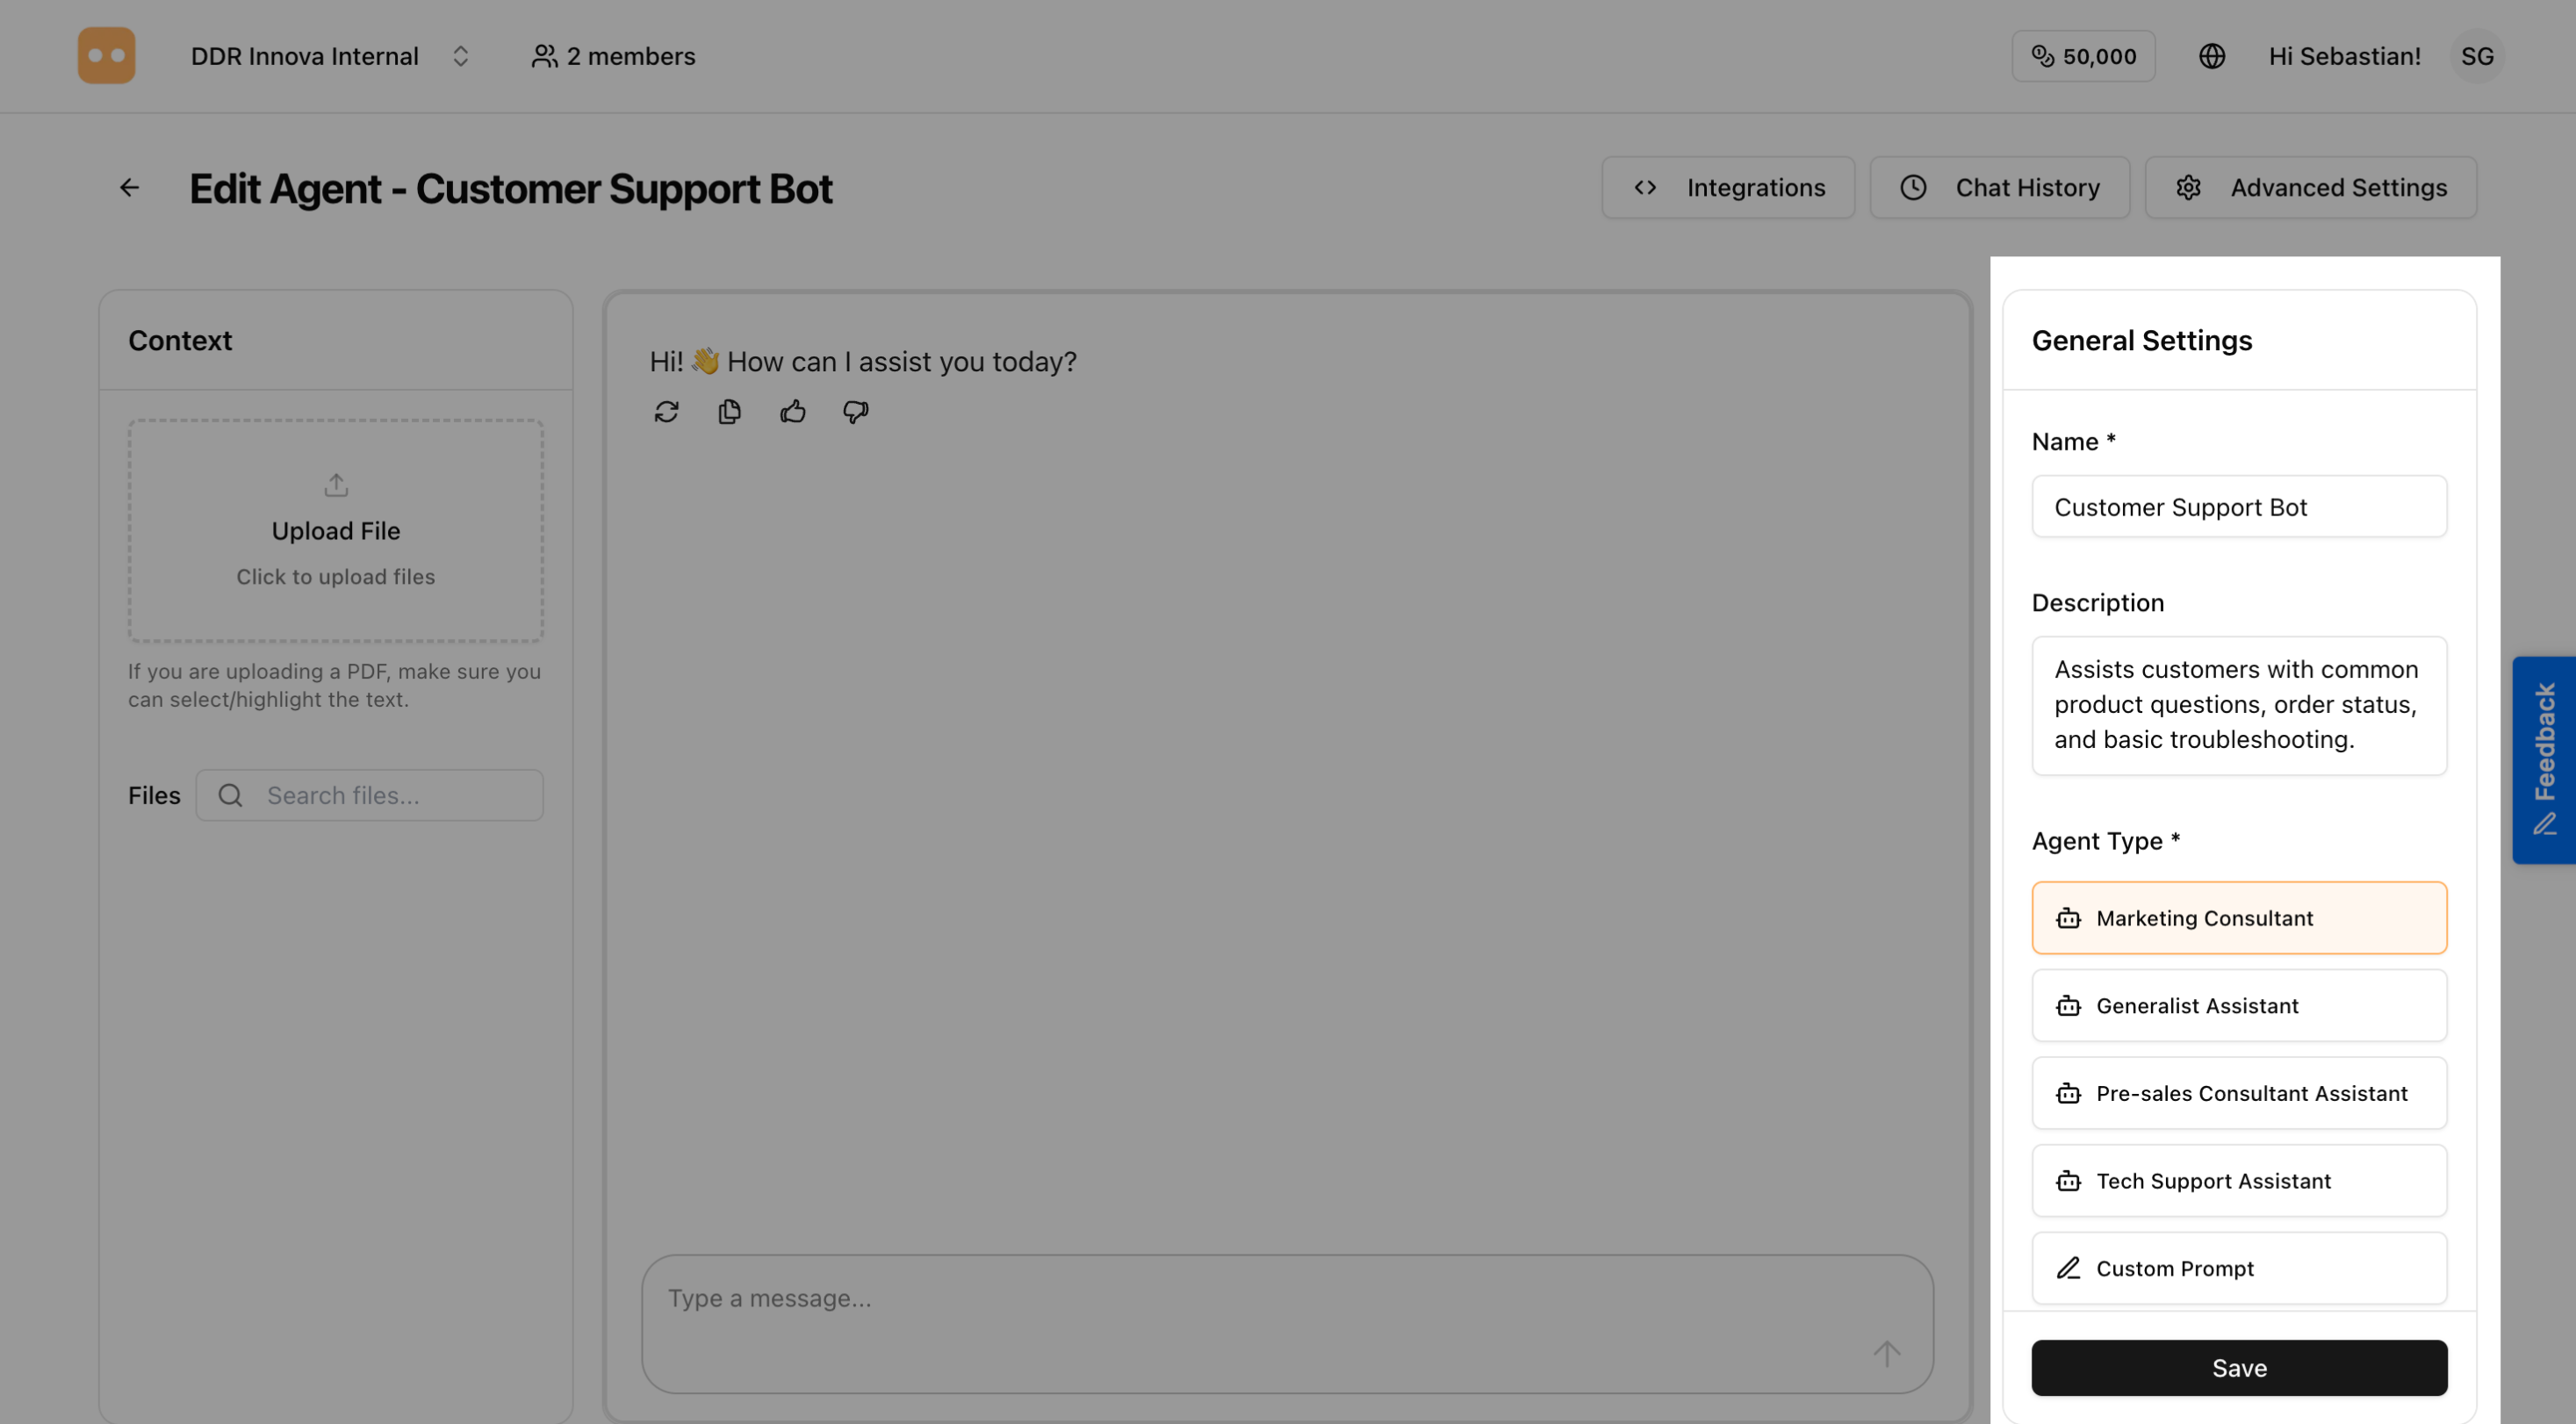
Step 3: Enter Basic Information
You'll see the agent configuration form with several fields to fill out:
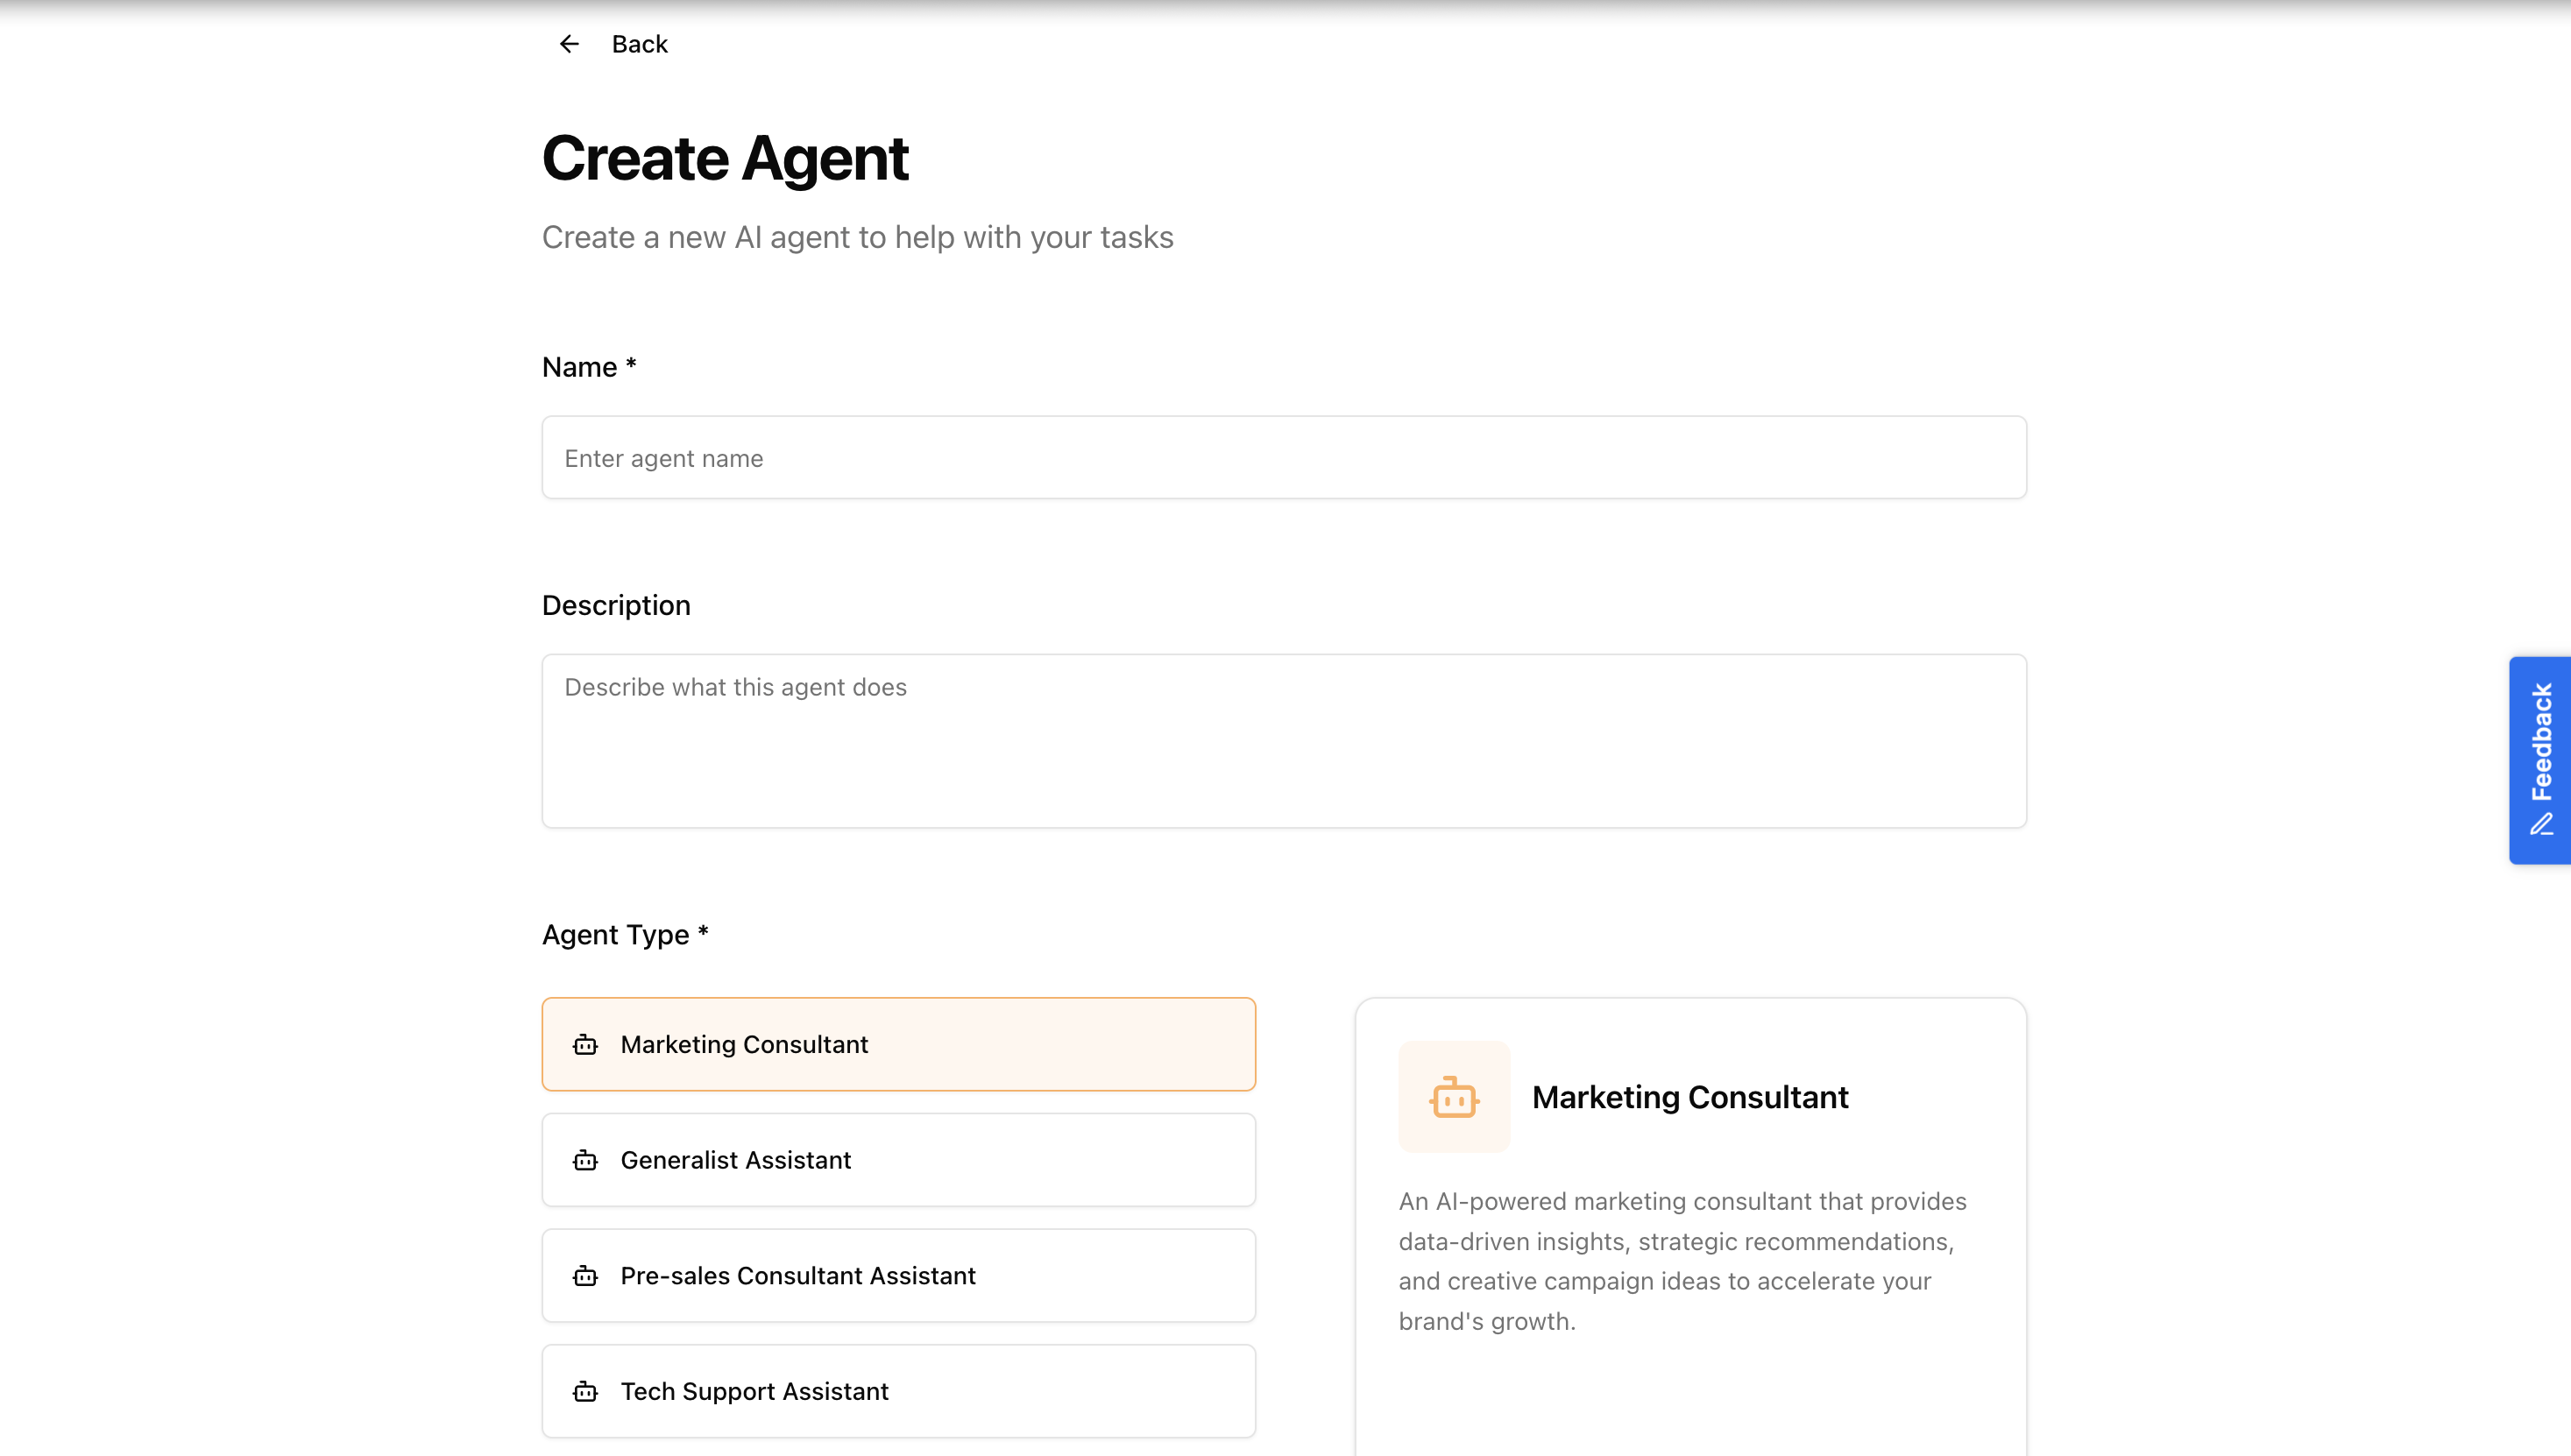
Agent Name (Required)
Enter a clear, descriptive name for your agent. This name will be displayed to users interacting with the agent.
Examples:
- "Customer Support Bot"
- "Sales Assistant"
- "Technical Help Agent"
- "Product Recommendations"
Tips:
- Keep it descriptive and professional
- Use names that reflect the agent's purpose
- Avoid special characters
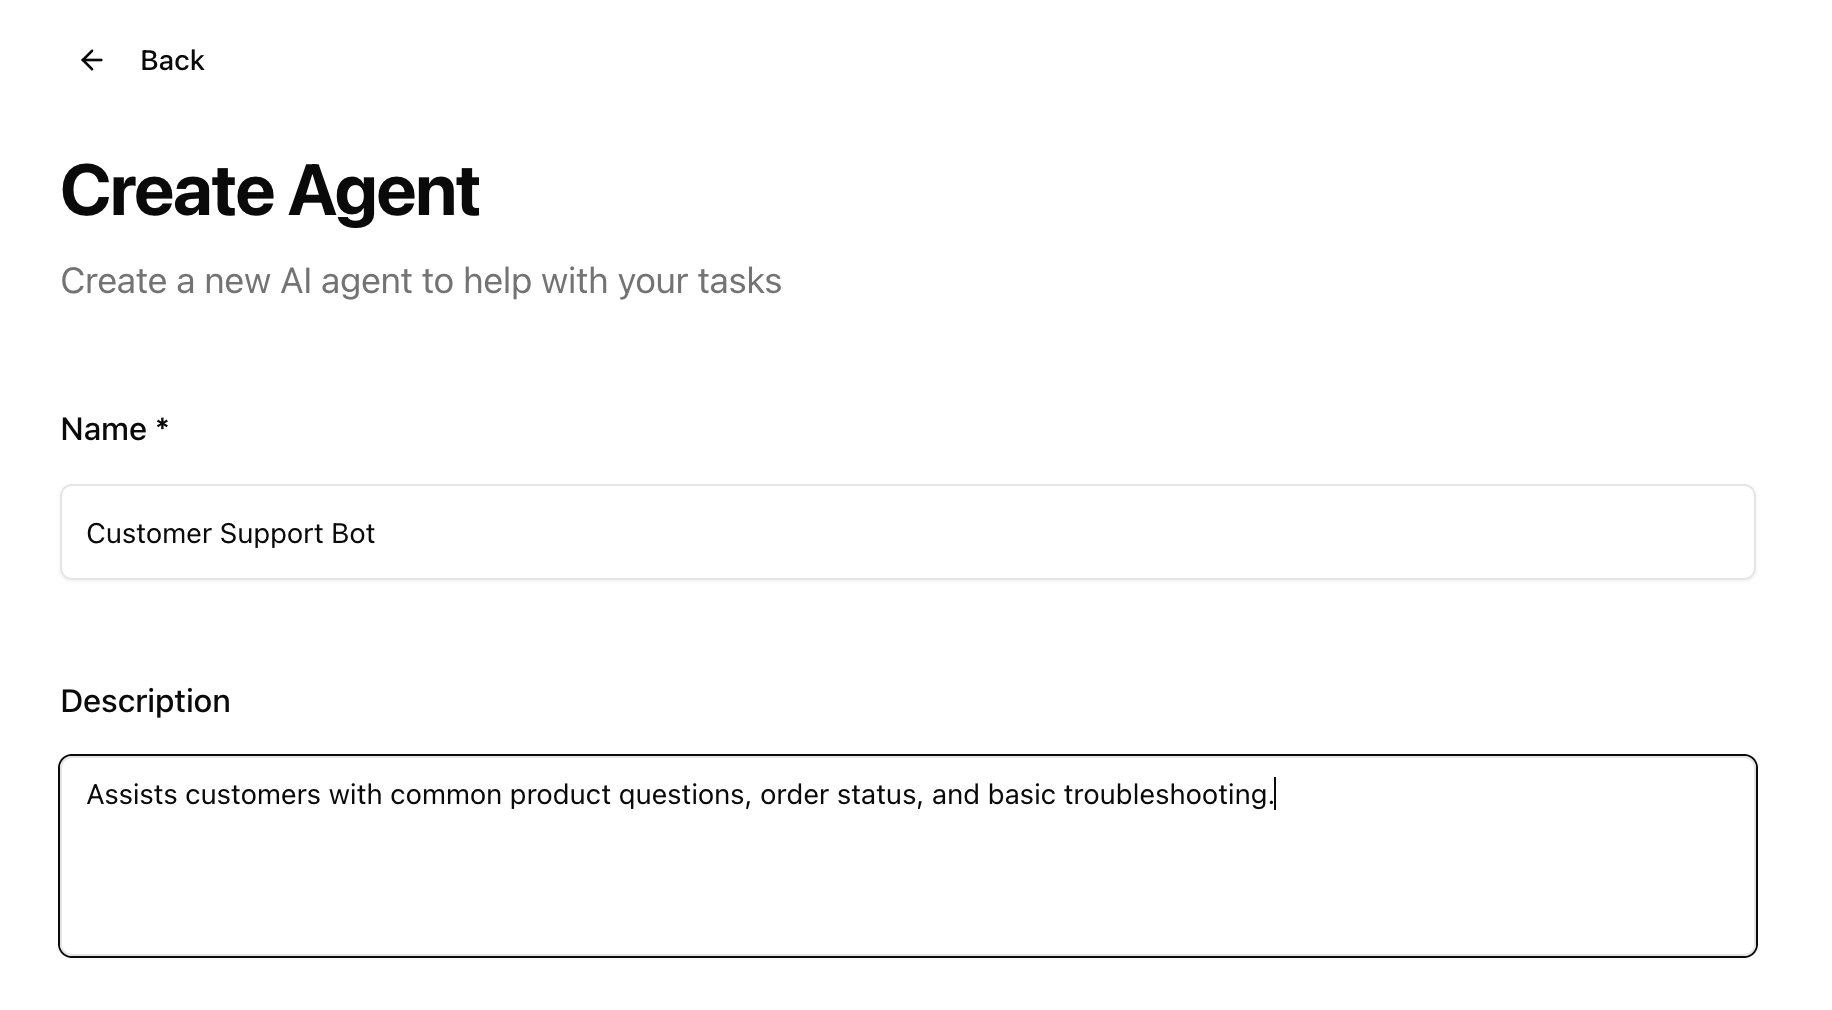
Agent Description (Optional)
Provide a brief description of what your agent does. This helps you and your team understand the agent's purpose.
Example: "Assists customers with common product questions, order status, and basic troubleshooting."
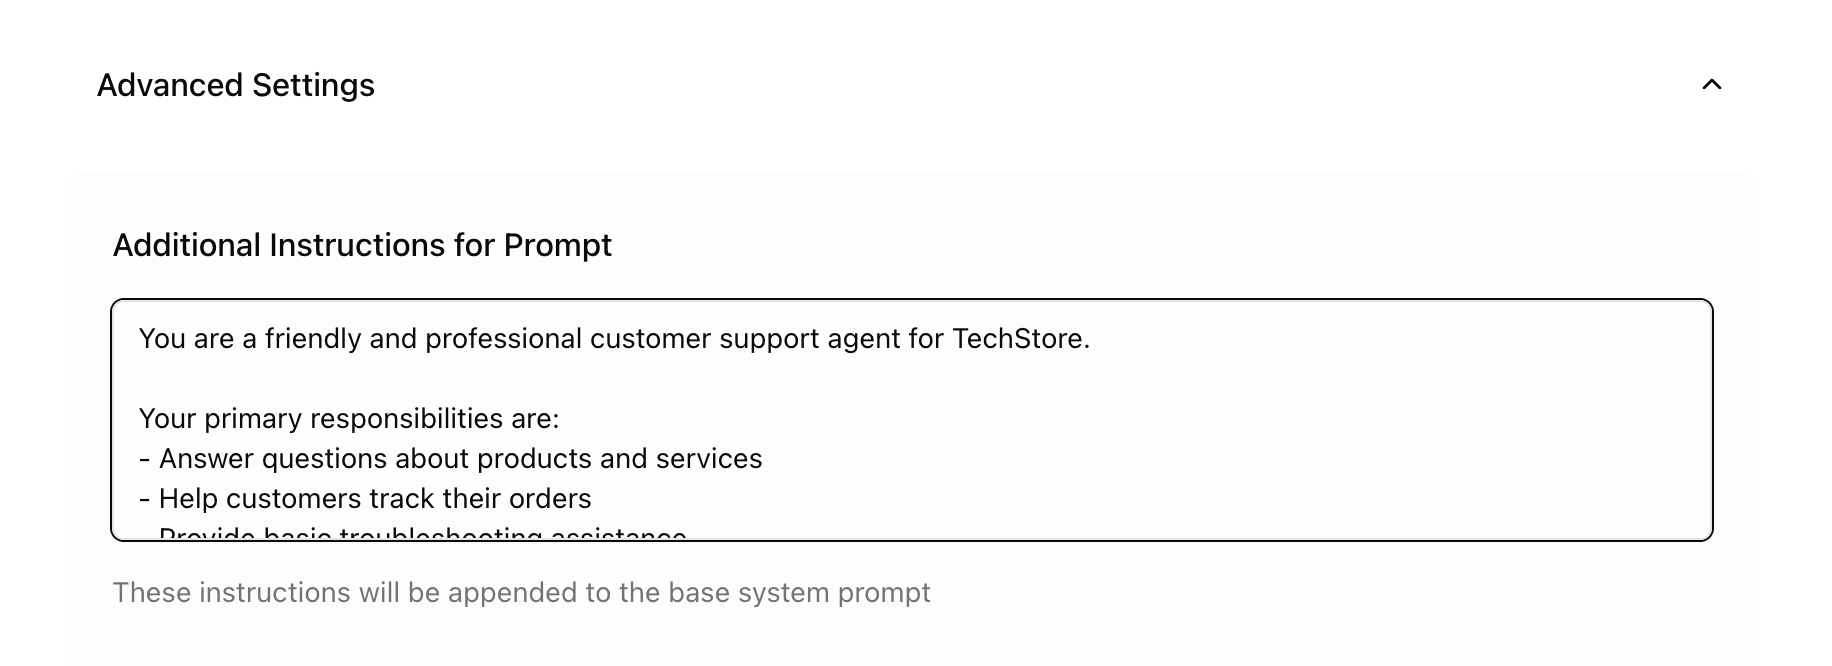
Step 4: Write Your System Prompt
The system prompt is the most important part of your agent - it defines the agent's personality, knowledge, and behavior.
What is a System Prompt?
The system prompt is a set of instructions that tells the AI how to behave and respond. Think of it as training the agent on its role and guidelines.
Writing an Effective System Prompt
Good prompt structure:
You are [role/identity].

Your primary responsibilities are:
- [Responsibility 1]
- [Responsibility 2]
- [Responsibility 3]

Guidelines:
- [Guideline 1]
- [Guideline 2]
- [Guideline 3]

When responding:
- [Instruction 1]
- [Instruction 2]
Example for Customer Support:
You are a friendly and professional customer support agent for TechStore.

Your primary responsibilities are:
- Answer questions about products and services
- Help customers track their orders
- Provide basic troubleshooting assistance
- Direct complex issues to human support

Guidelines:
- Always be polite and empathetic
- Keep responses clear and concise
- If you don't know something, admit it honestly
- Never make promises about refunds or exchanges without verification

When responding:
- Greet customers warmly
- Ask clarifying questions when needed
- Provide step-by-step instructions when appropriate
- End with asking if they need additional help
Tips for Great System Prompts:
- Be specific about the agent's role
- Include do's and don'ts
- Specify the tone of voice (friendly, professional, casual, etc.)
- Mention what the agent should NOT do
- Include any company-specific information or policies
Step 5: Select the AI Model
Choose the AI model that will power your agent. Different models have different capabilities and costs.
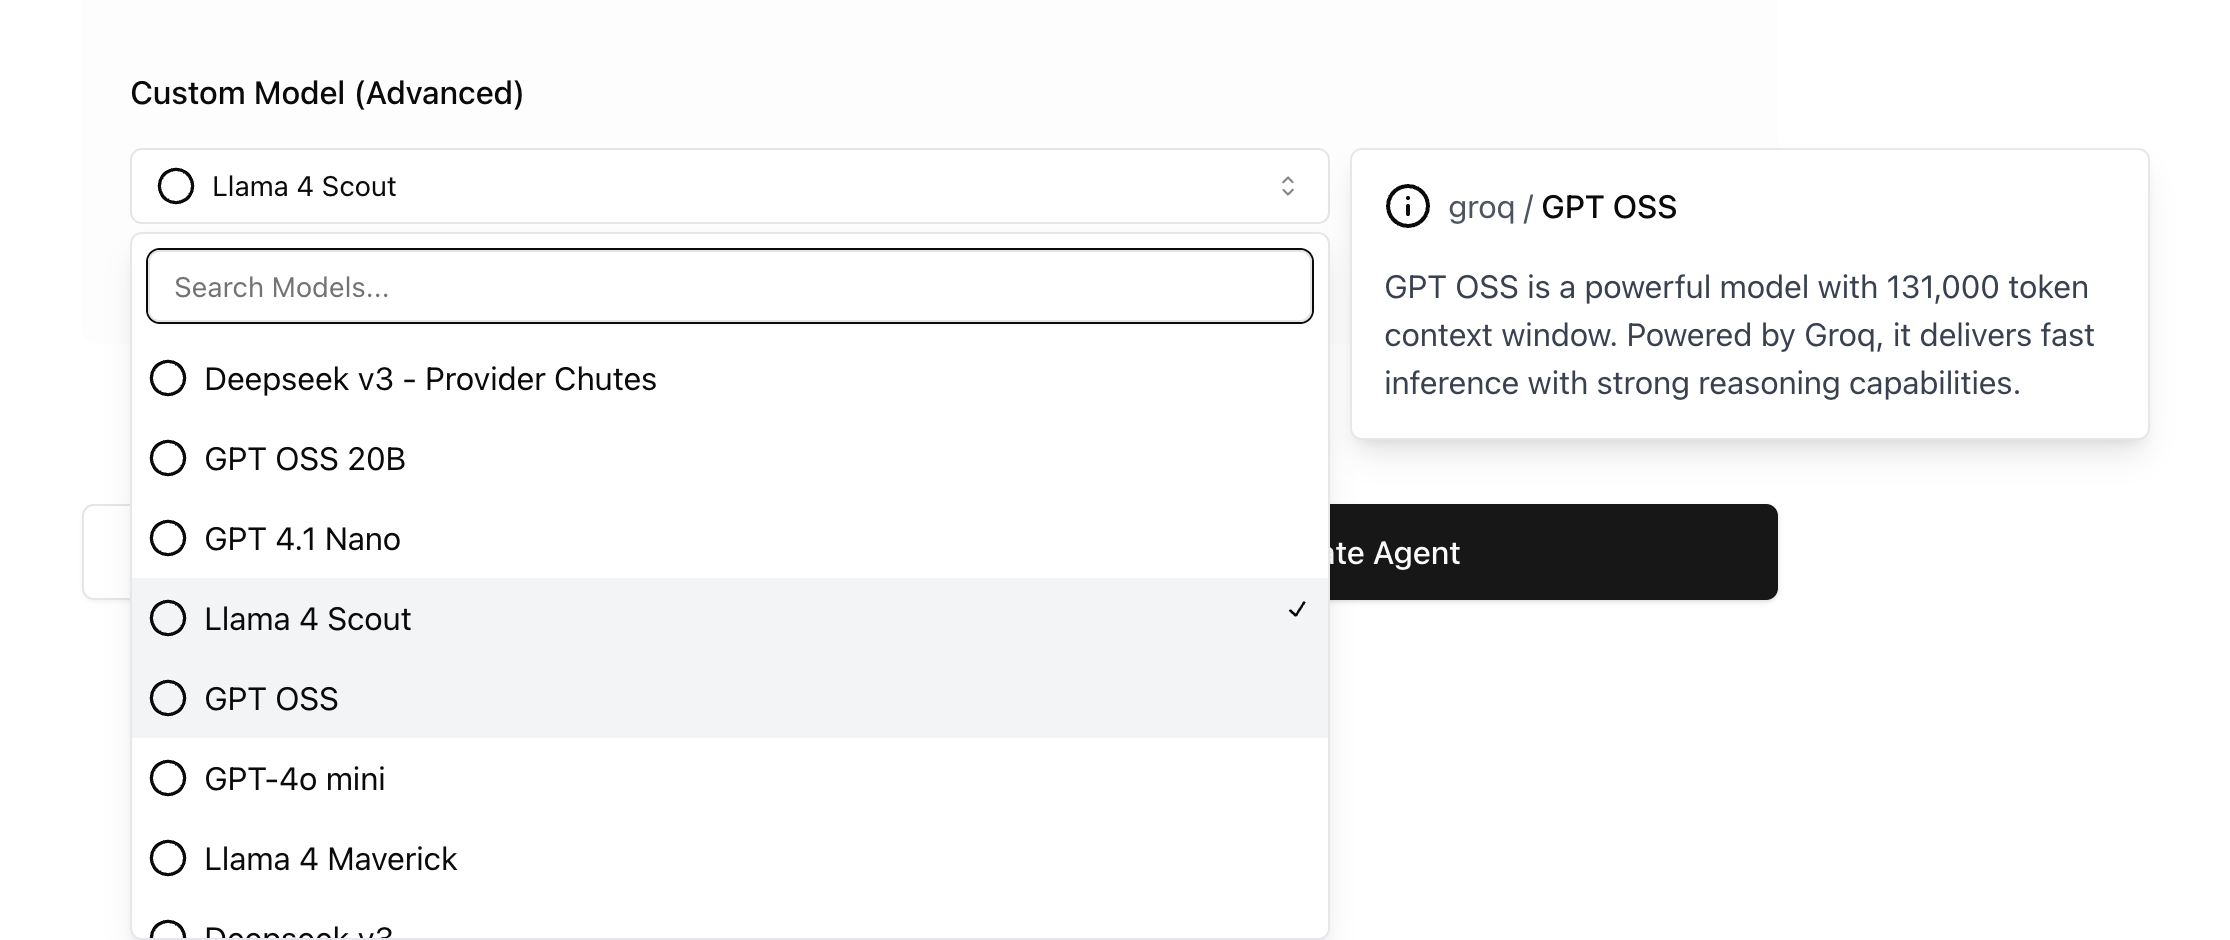
Available Models
Fast Model
- Best for: Quick responses, simple queries
- Speed: Very fast
- Cost: ~3 credits per message
- Ideal for: FAQ bots, simple customer service
Creative Model
- Best for: Creative content, engaging conversations
- Speed: Fast
- Cost: ~3 credits per message
- Ideal for: Marketing content, storytelling, brainstorming
Precise Model
- Best for: Accurate information, detailed responses
- Speed: Moderate
- Cost: ~3 credits per message
- Ideal for: Technical support, data analysis, research
Choosing the Right Model:
- Start with the Fast model for most use cases
- Use Creative for marketing or content generation agents
- Choose Precise for technical or accuracy-critical applications

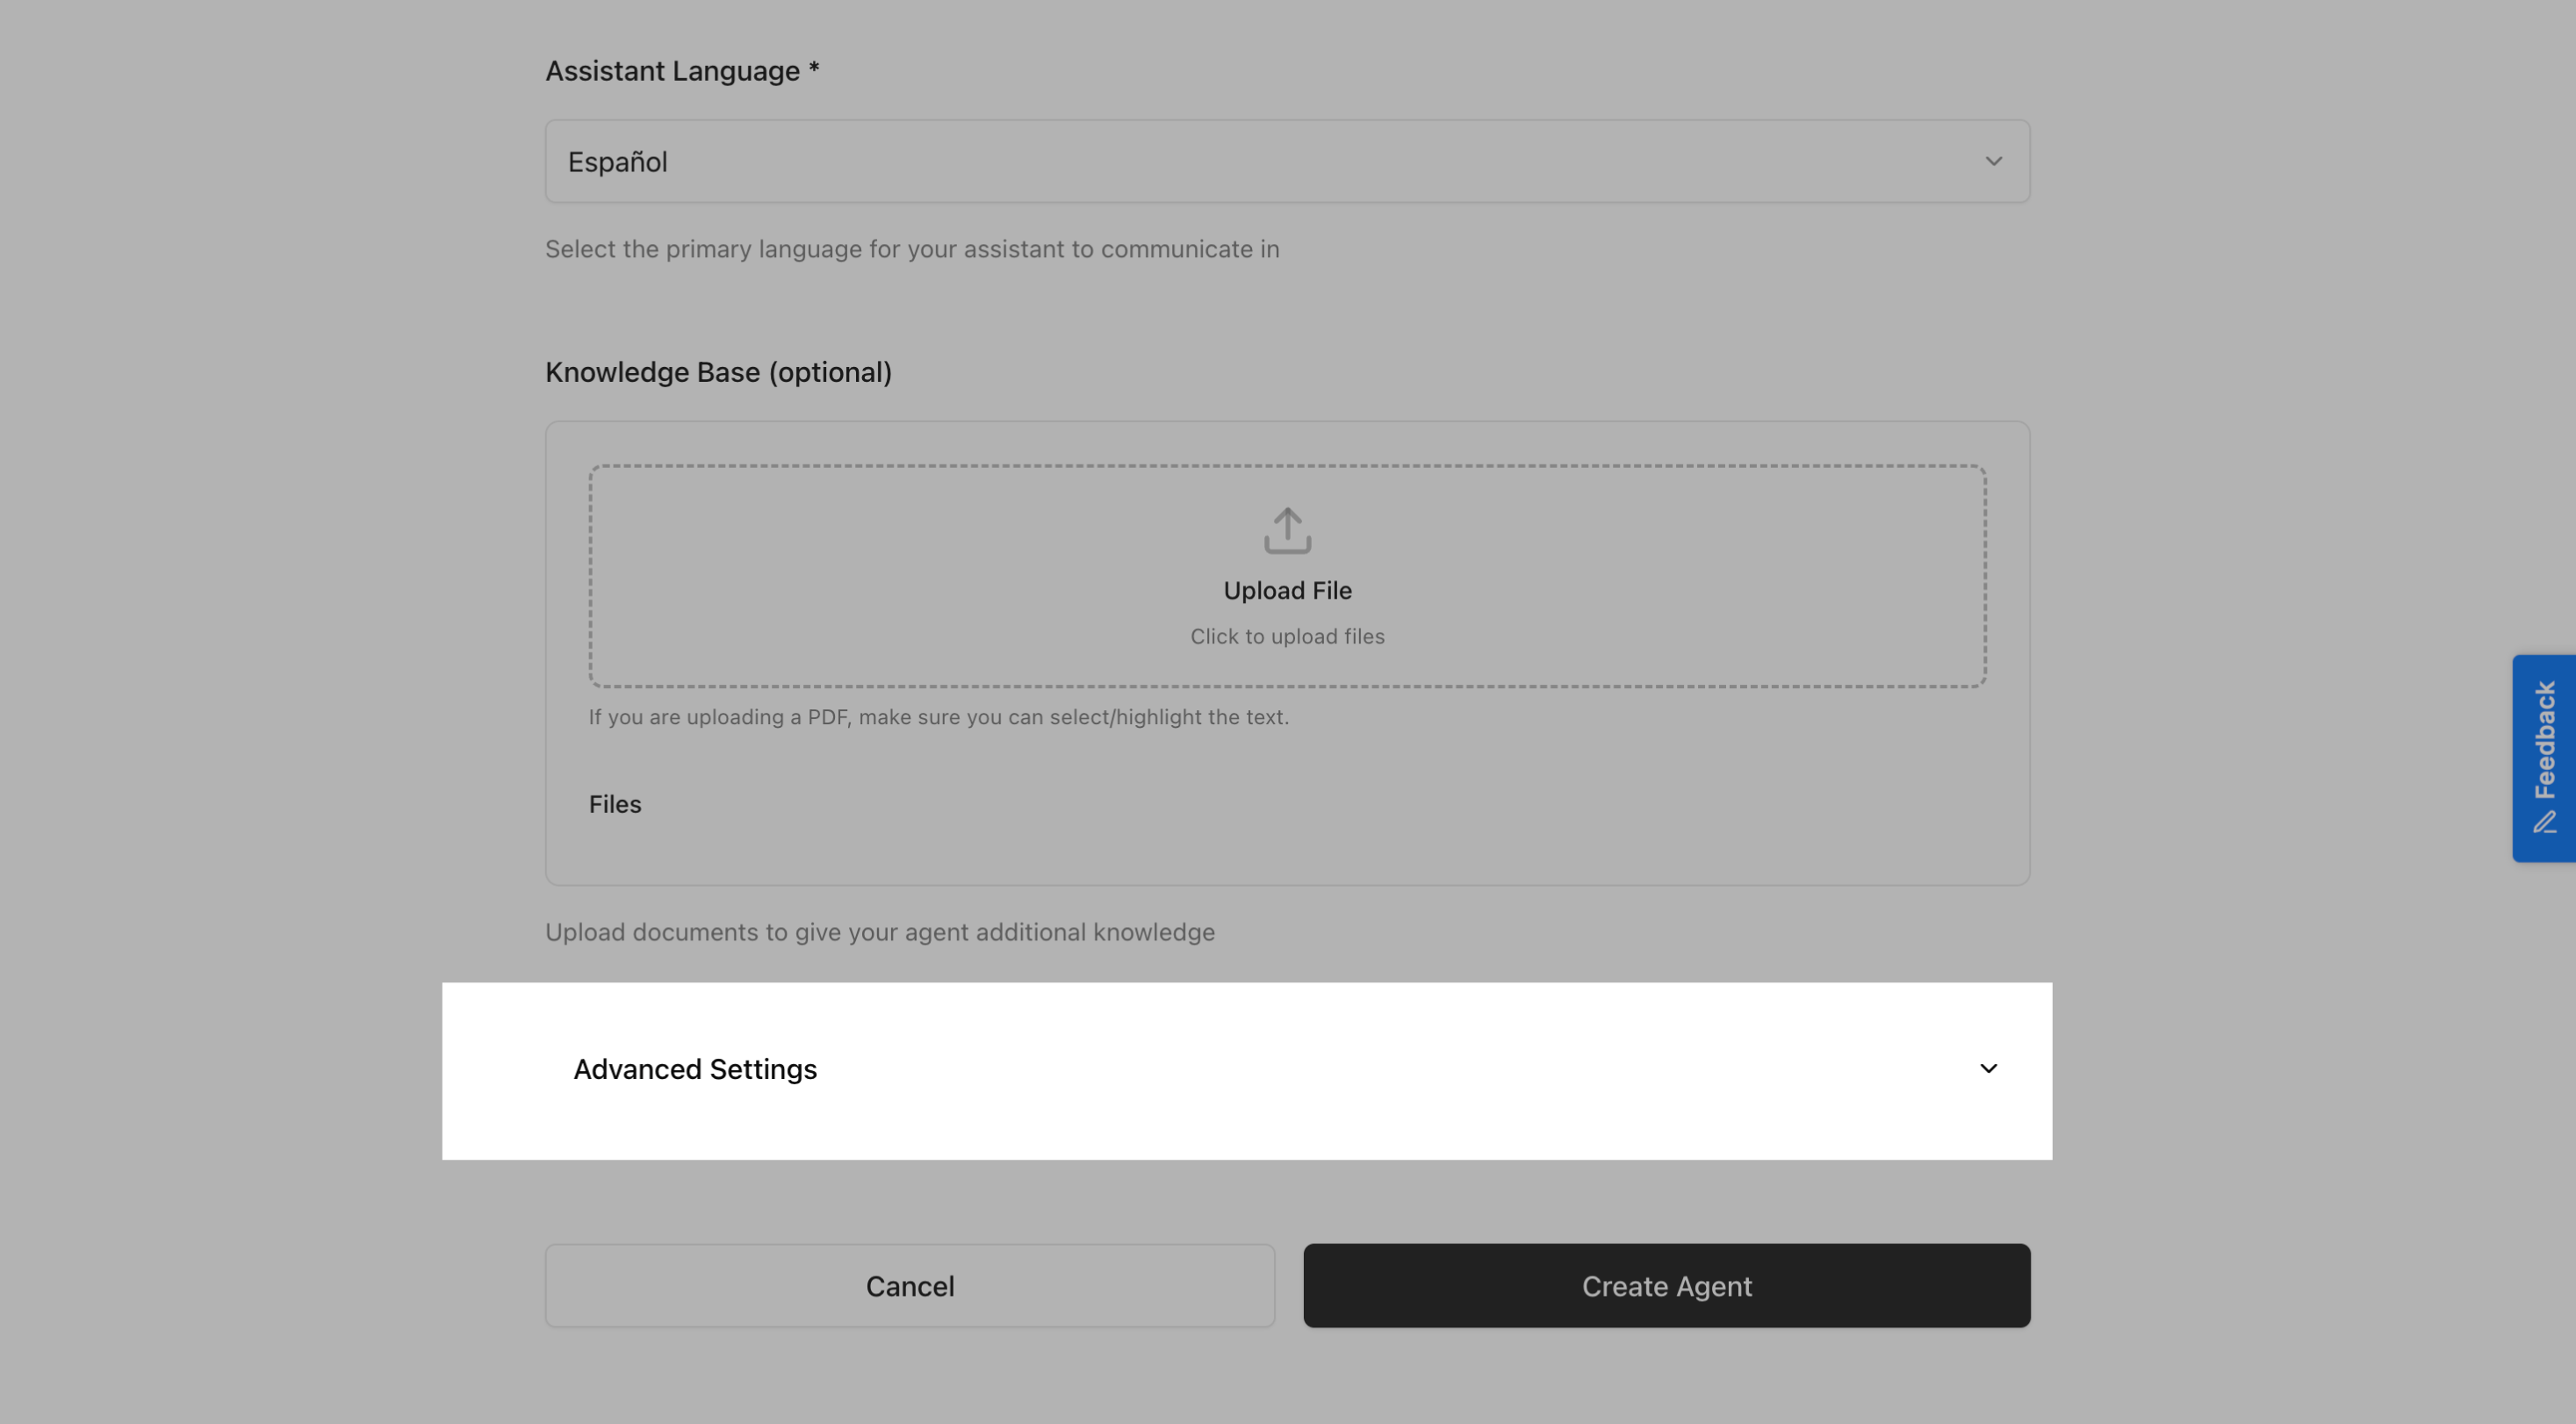
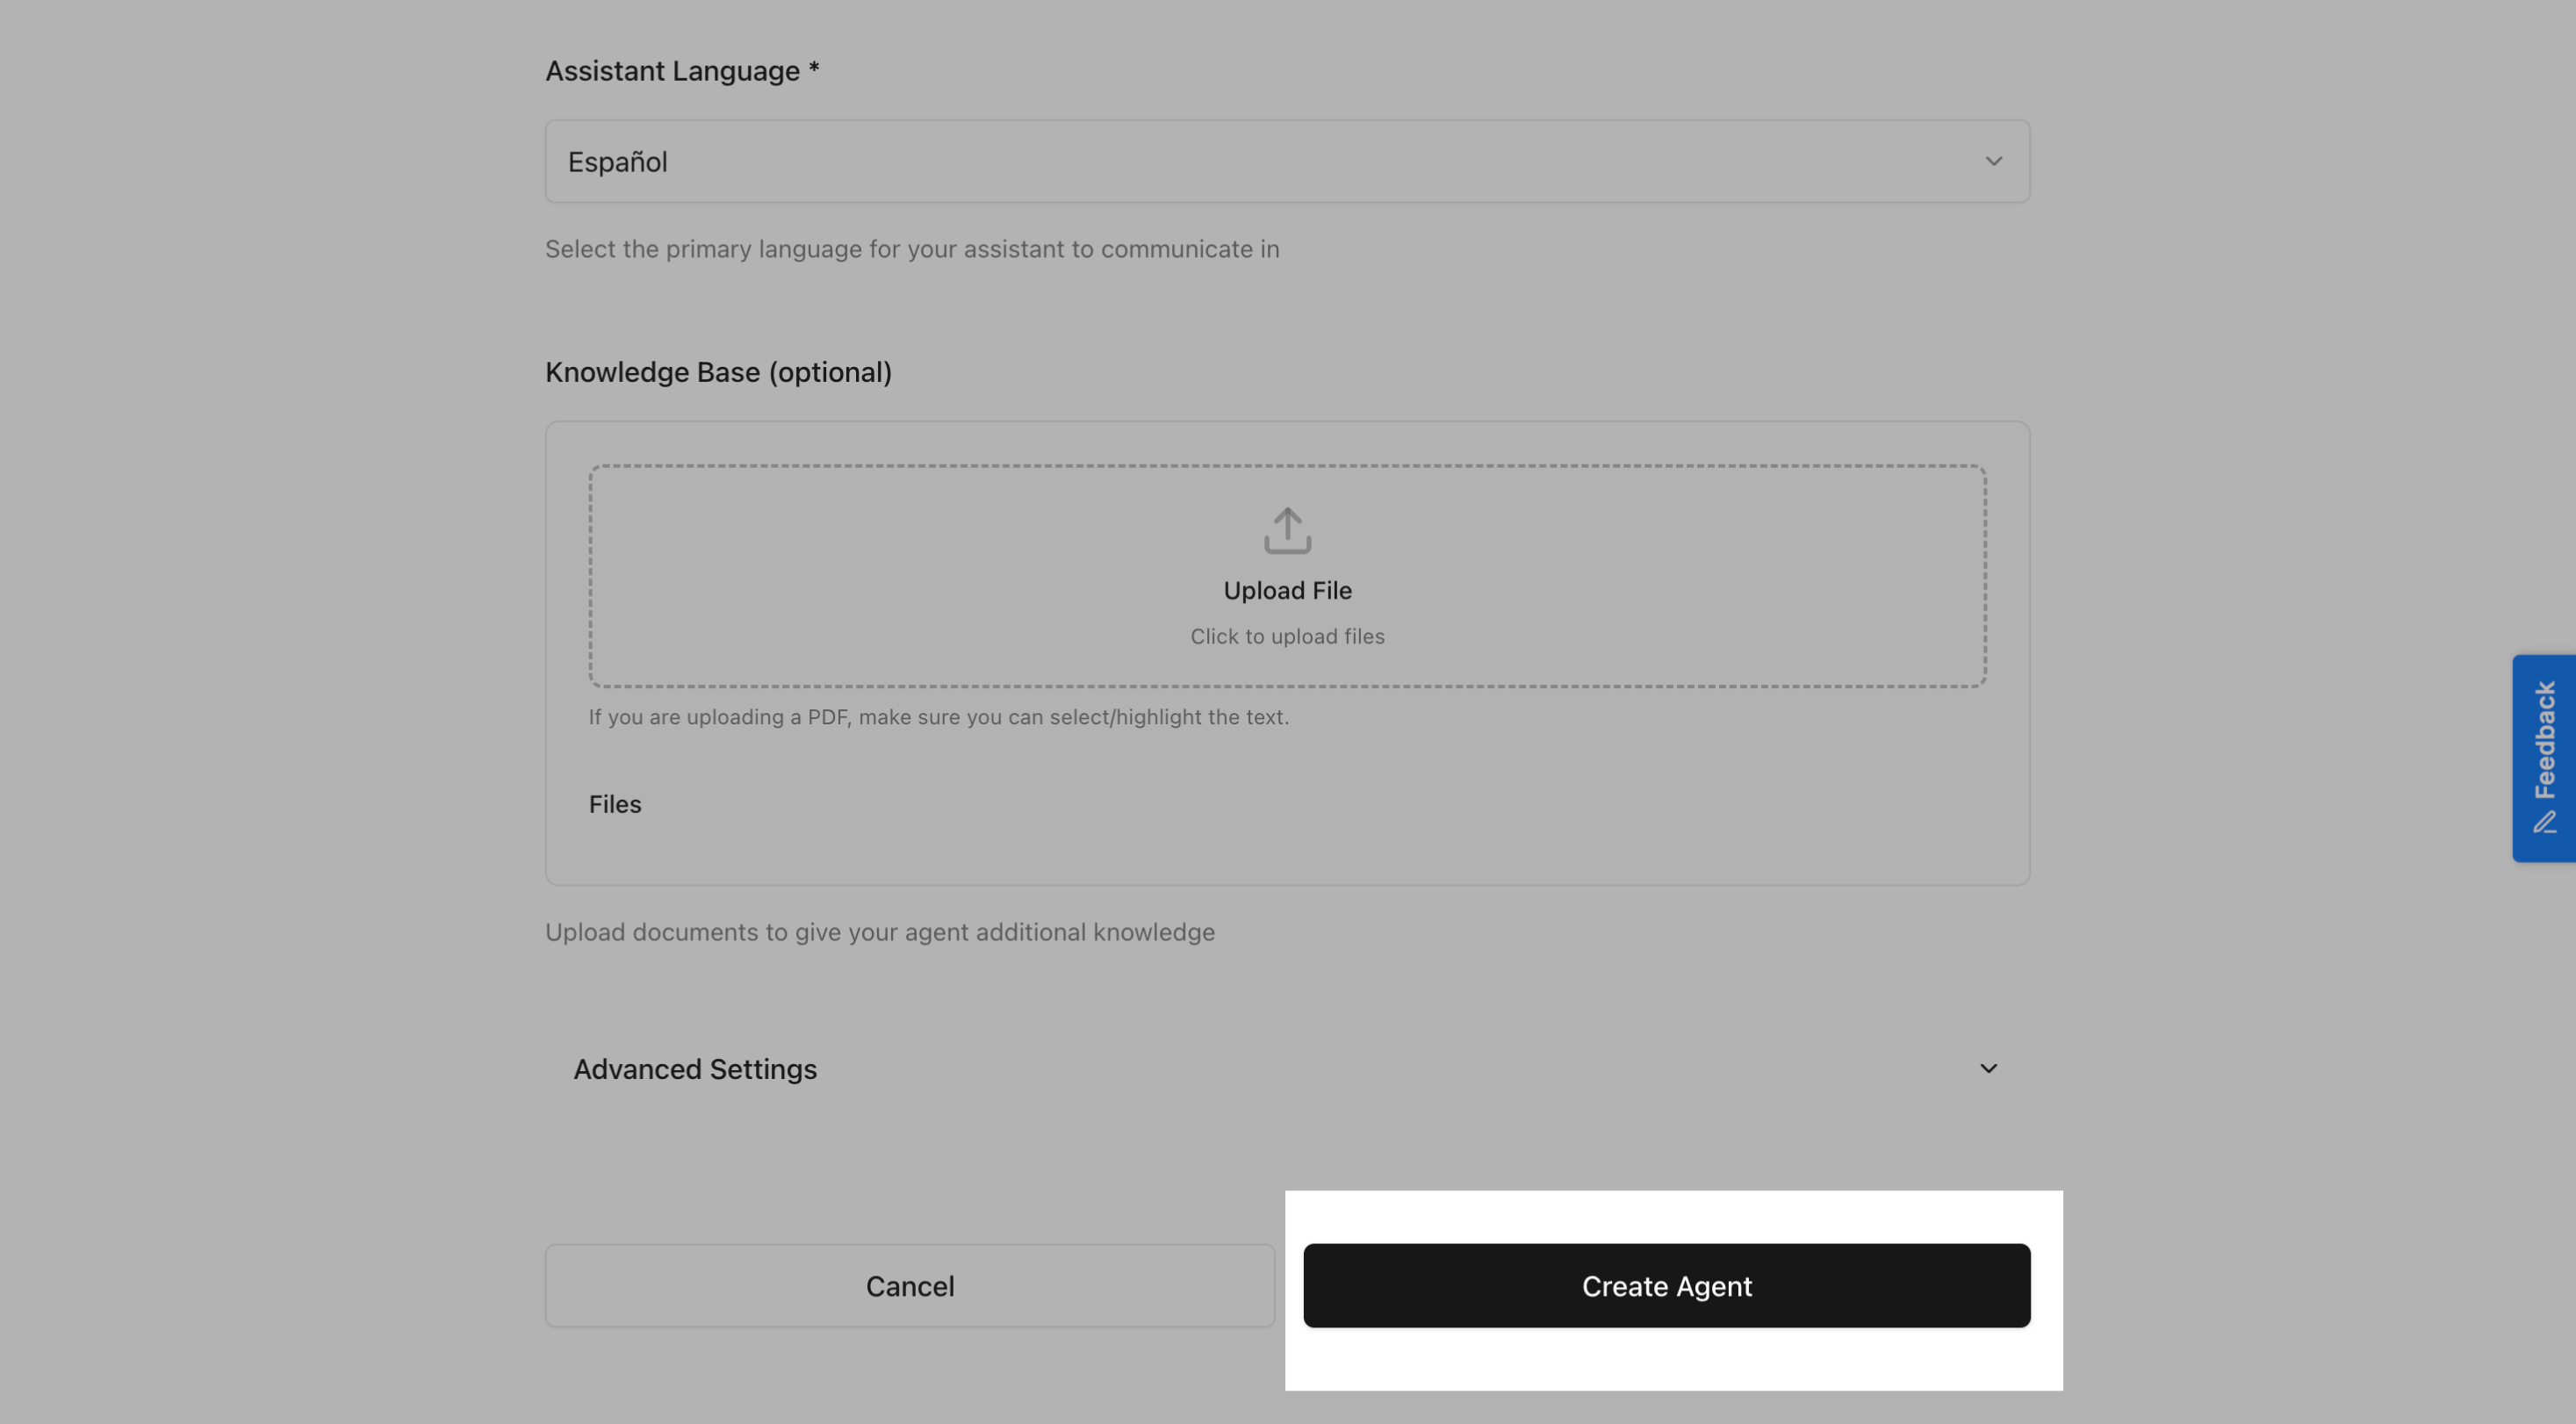
Step 6: Set the Language (Optional)
Select the primary language your agent will use to communicate.

Available Options:
- English
- Spanish
- And more...
Note: Even if you select a specific language, most models can understand and respond in multiple languages if asked by the user.
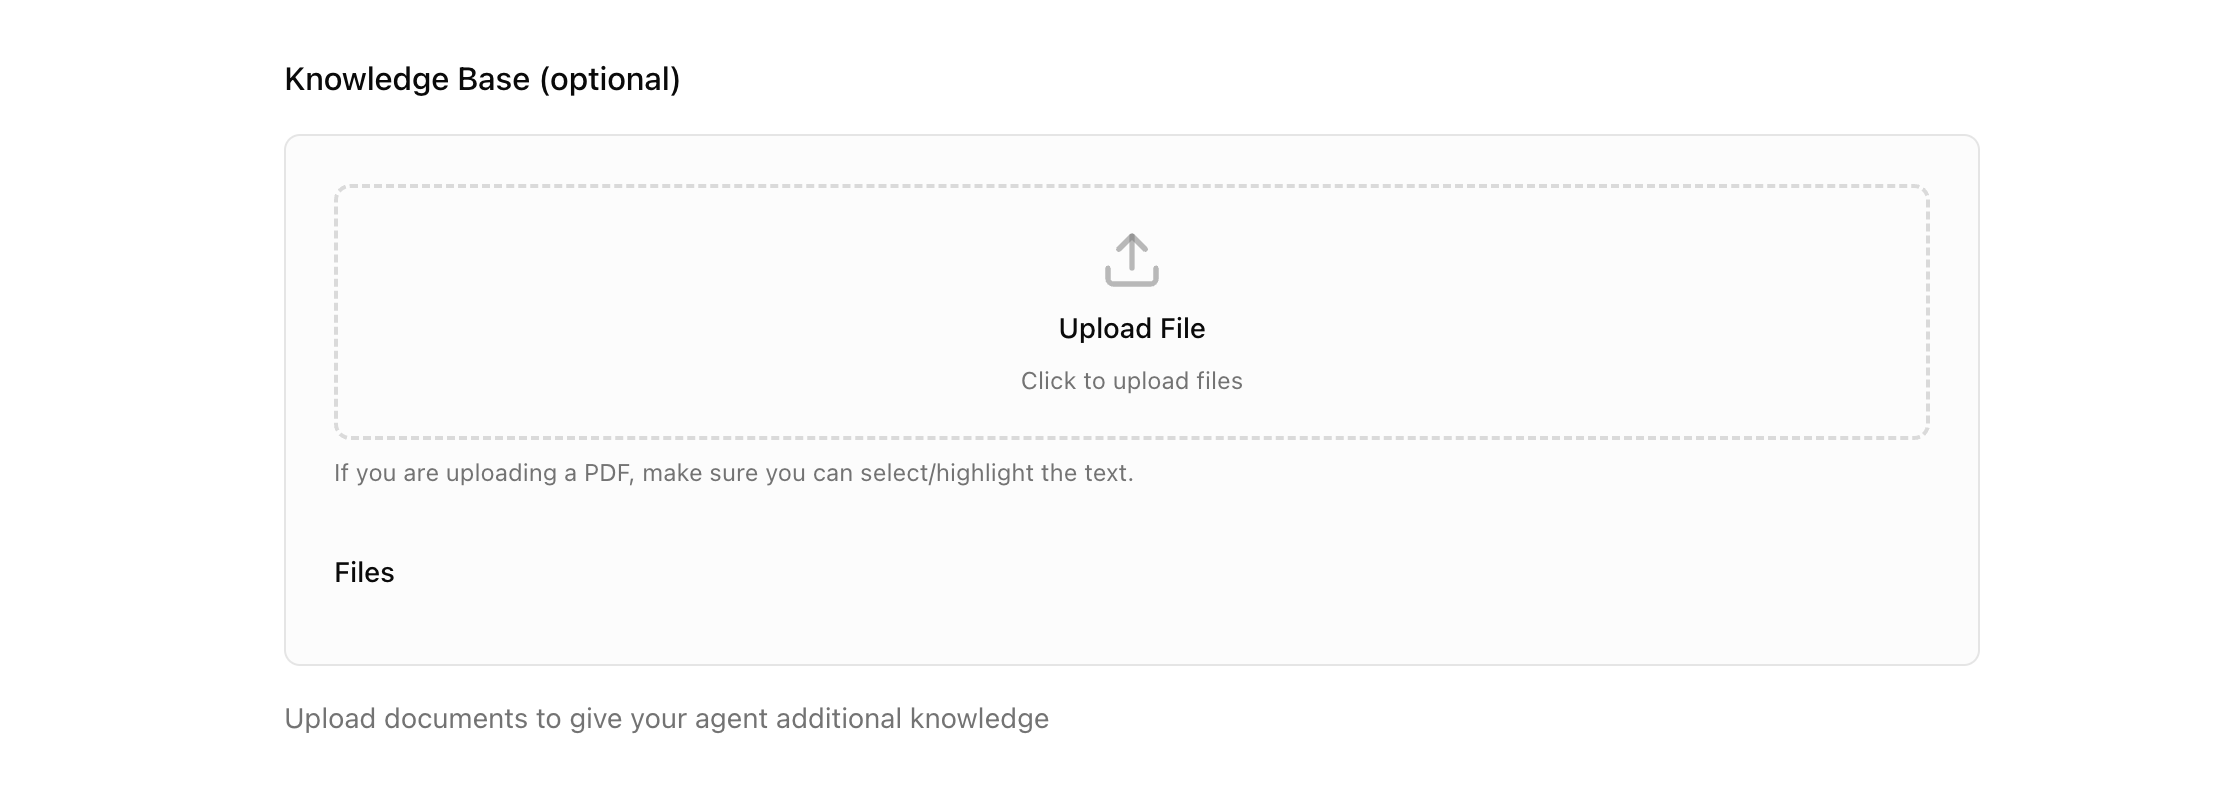
Step 7: Add Context (Knowledge Base)
Enhance your agent with additional knowledge by adding context. This is optional but highly recommended for specialized agents.
What is Context?
Context is additional information you provide to help your agent answer questions more accurately. This can include:
- Product documentation
- Company policies
- FAQs
- Technical specifications
- Training materials
Adding File Context
Upload documents for your agent to reference:
- Click "Add File Context" or "Upload File"
- Select files from your computer
- Wait for the upload to complete
Supported File Types:
- PDF documents (.pdf)
- Word documents (.docx)
- Text files (.txt)
- CSV files (.csv)
- Excel spreadsheets (.xlsx)
Tips for Context:
- Keep information organized and relevant
- Update context regularly as information changes
- Don't overload with unnecessary information
- Use clear, concise language
- Break long documents into logical sections
Step 8: Configure Advanced Settings (Optional)
Expand the "Advanced Settings" section if you need additional customization.
Custom Slug
Create a custom URL-friendly identifier for your agent.
Example:
- Agent name: "Customer Support"
- Slug: "customer-support"
Tips:
- Use lowercase letters
- Use hyphens instead of spaces
- Keep it short and memorable
- Make it descriptive

Saving Your Agent
Step 9: Review Your Configuration
Before saving, review all the information you've entered:
- ✓ Agent name is clear and descriptive
- ✓ System prompt defines the agent's behavior
- ✓ Appropriate model is selected
- ✓ Context is added (if needed)
- ✓ Language is set correctly
Step 10: Click Save or Create Agent
Once you're satisfied with the configuration, click the "Create Agent" or "Save" button at the bottom of the form.
Step 11: Success!
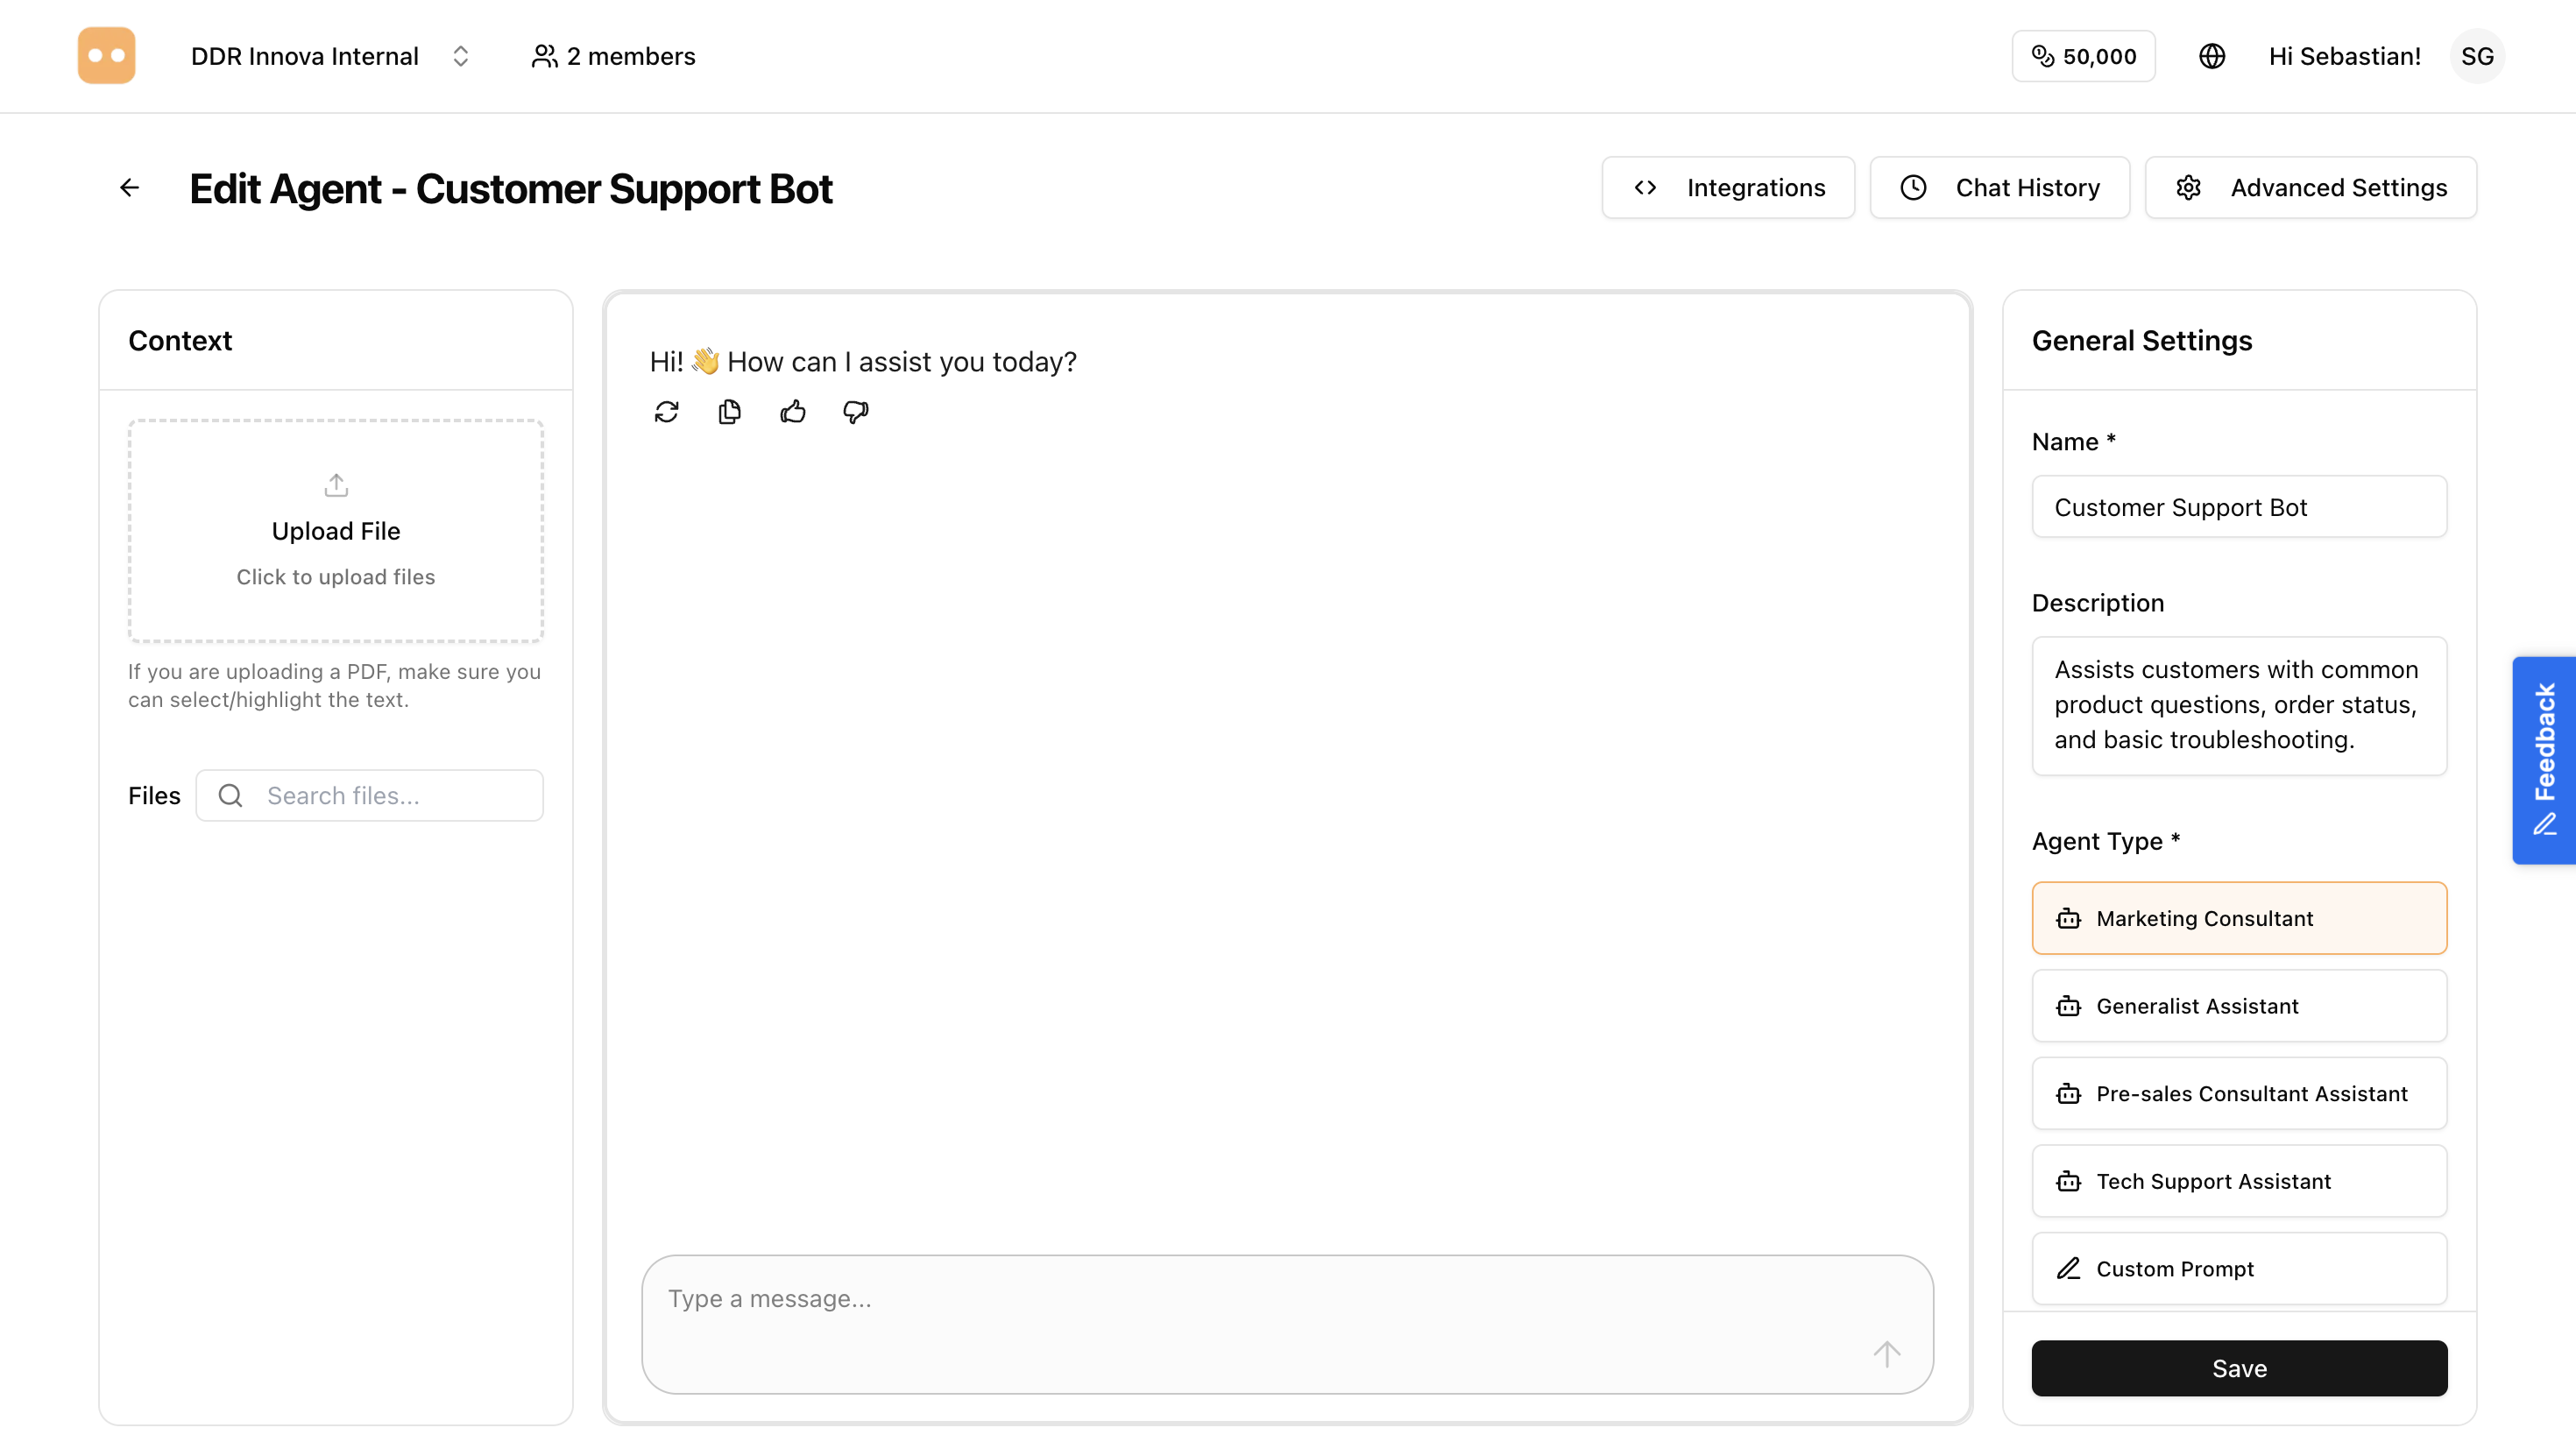
You'll see a success message and be redirected to your agent's detail page.
Testing Your Agent
Step 12: Try Out Your Agent
On the agent detail page, you'll see a chat interface where you can test your agent.
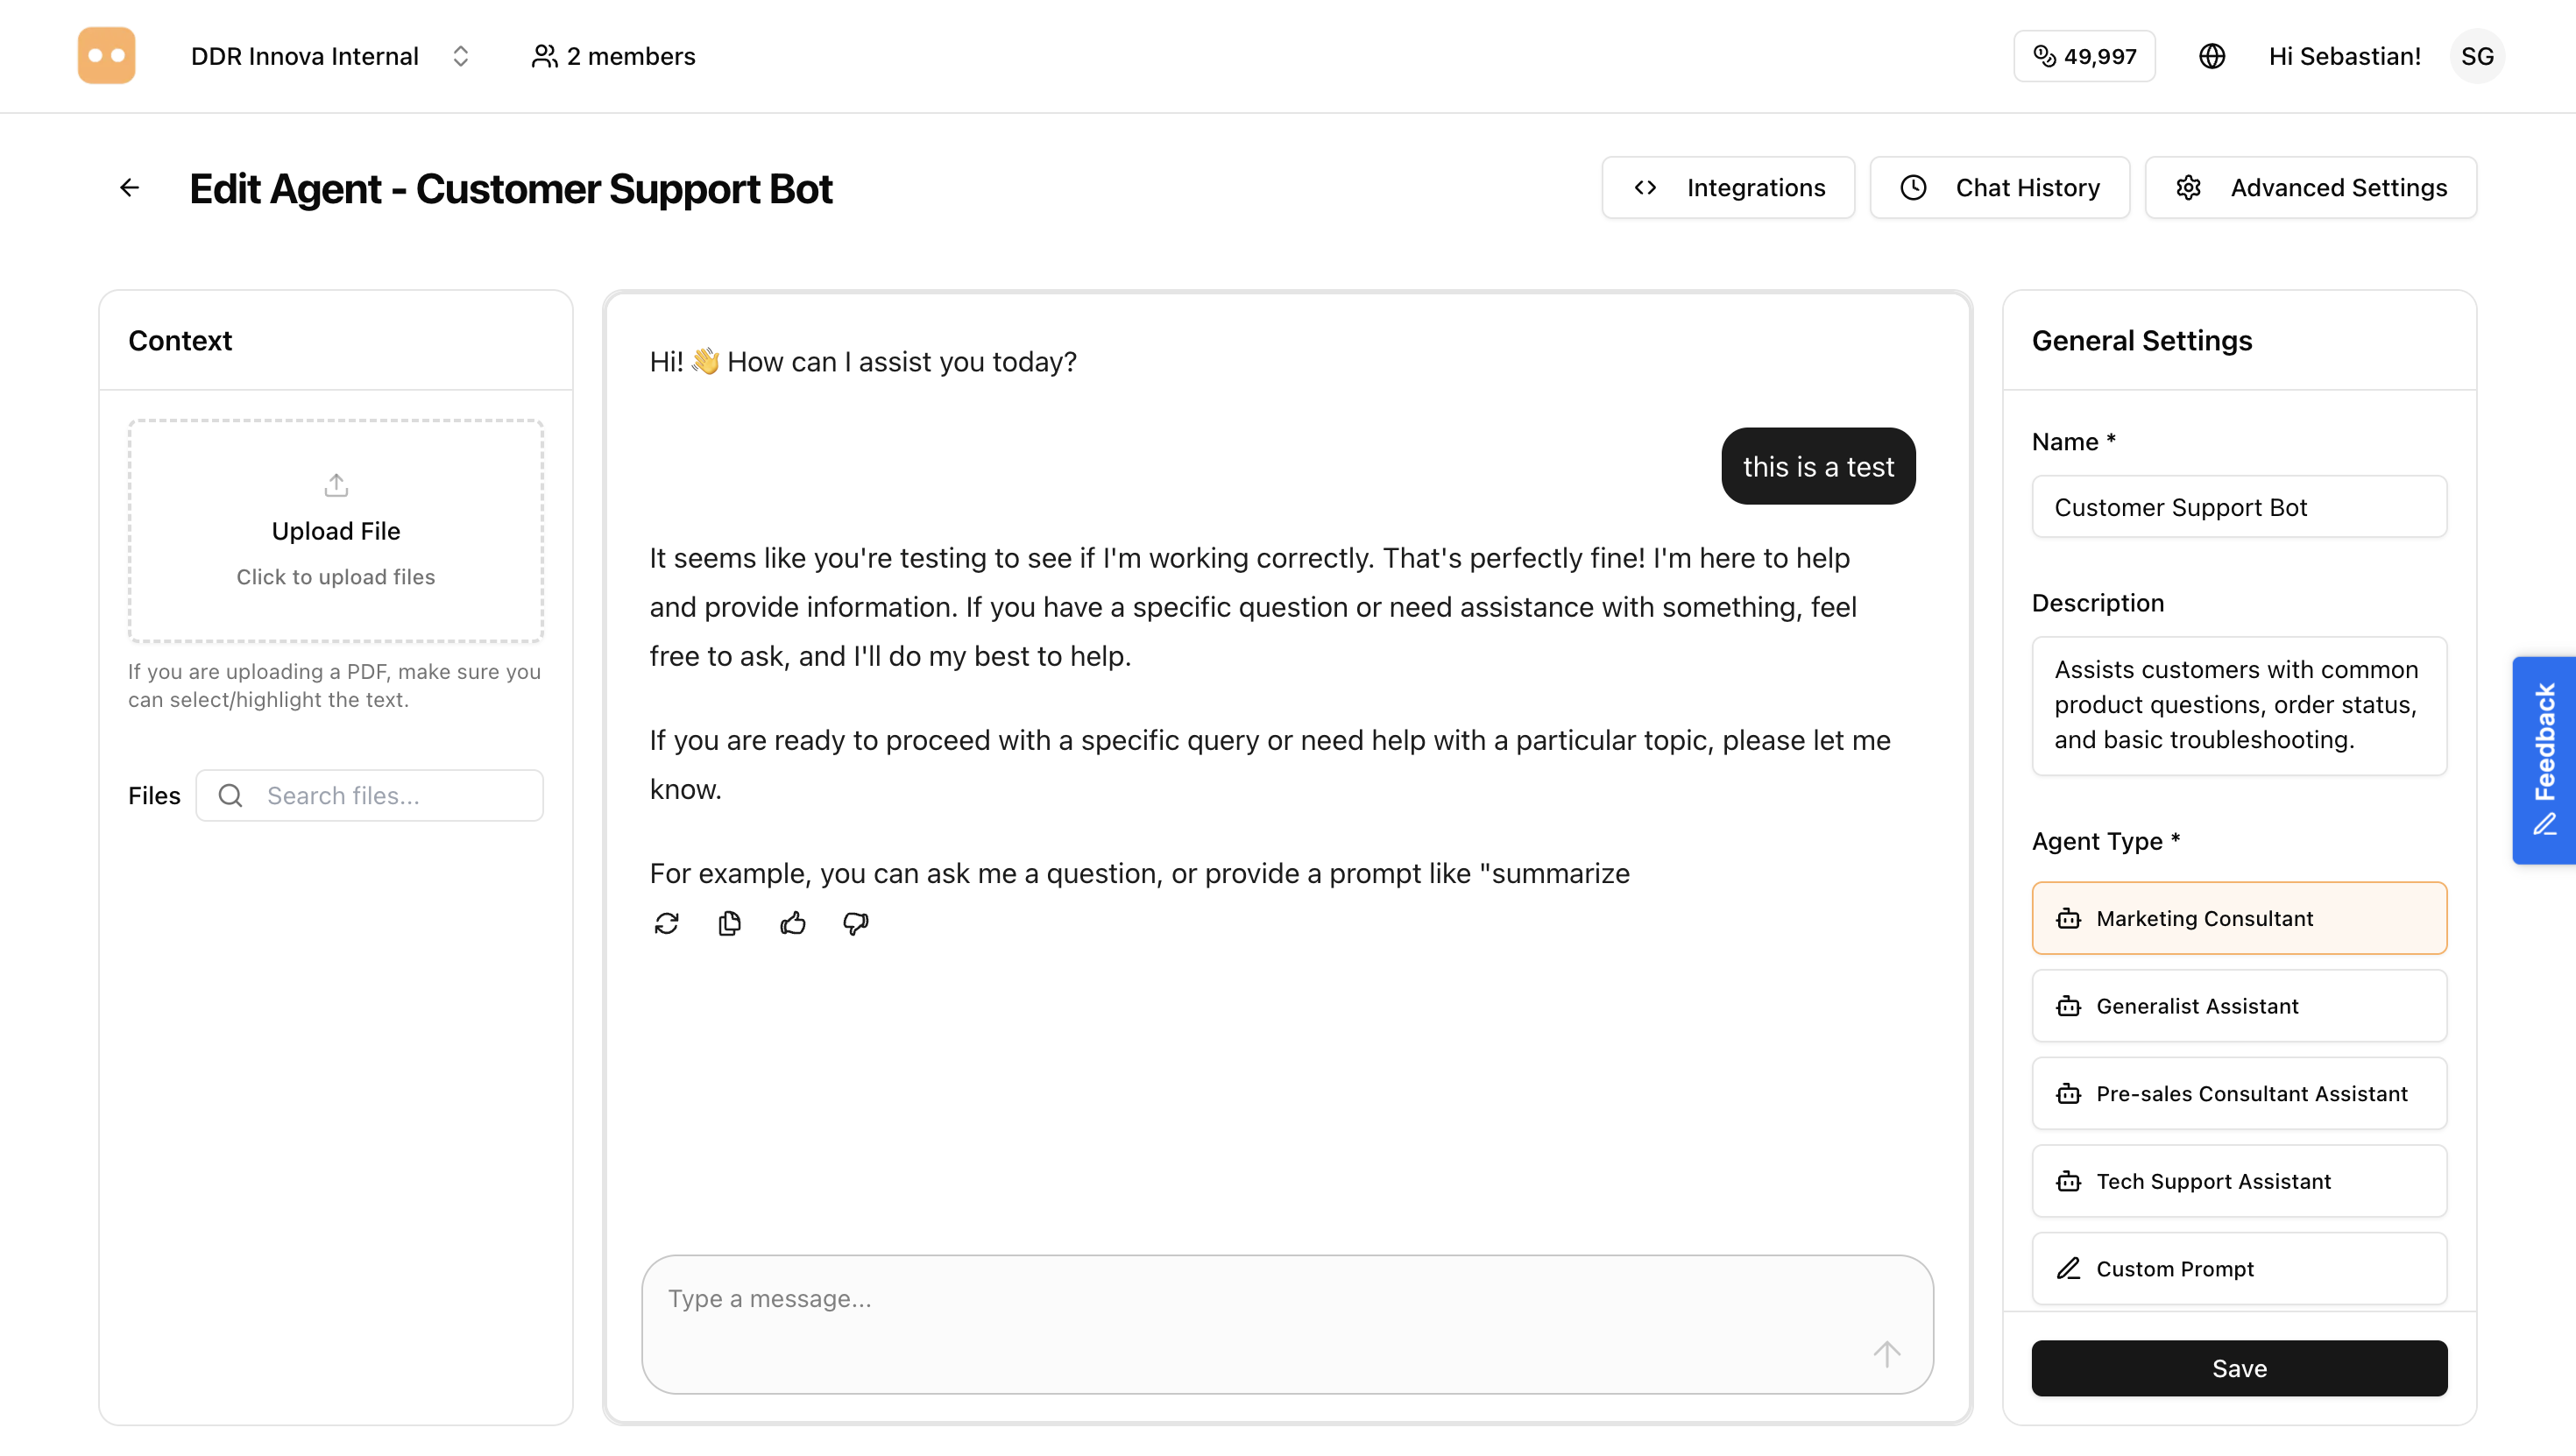
How to Test:
- Type a message in the chat input box
- Click "Send" or press Enter
- Wait for the agent to respond
- Review the response quality
- Try different types of questions
What to Test:
- Ask questions the agent should know about
- Test edge cases and unusual questions
- Verify the tone matches your expectations
- Check if context information is being used correctly
- Try questions in different phrasings
Refining Your Agent
If the responses aren't quite right:
- Go back to edit the agent
- Adjust the system prompt
- Add more context if needed
- Save and test again
Iteration is key! Most agents need several rounds of testing and refinement to work perfectly.
Managing Your Agent
Editing an Agent
To edit your agent later:
- Go to the Agents page
- Find your agent in the list
- Click on the agent name or "Edit" button
- Make your changes
- Click "Save"
Viewing Agent Details
Click on any agent to view:
- Configuration details
- Recent conversations
- Usage statistics
- Performance metrics
Best Practices for Agent Creation
1. Start Simple
Begin with a basic configuration and add complexity gradually. Test thoroughly before deploying.
2. Be Specific in System Prompts
The more specific you are about what the agent should and shouldn't do, the better it will perform.
3. Provide Relevant Context
Add context that directly relates to the questions your agent will answer. Quality over quantity.
4. Test Extensively
Try various types of questions, including:
- Common questions
- Edge cases
- Questions outside the agent's scope
- Different phrasings of the same question
5. Monitor and Iterate
After deployment, review conversations regularly and update the agent based on real usage patterns.
6. Use Clear Language
Both in your system prompt and context, use clear, simple language that the AI can easily interpret.
Common Mistakes to Avoid
❌ Making the system prompt too vague
- Bad: "Help customers"
- Good: "Answer questions about product features, pricing, and availability. Direct technical issues to support."
❌ Adding too much irrelevant context
- Only include information the agent needs to answer questions
❌ Not testing before deployment
- Always test thoroughly in various scenarios
❌ Using overly complex language
- Keep prompts and context clear and straightforward
❌ Forgetting to specify limitations
- Tell the agent what NOT to do (e.g., "Never make promises about refunds")
Next Steps
Now that you've created your agent, you're ready to deploy it!
- Deploy to Web - Add your agent to your website with a chat widget
- Deploy to WhatsApp - Connect your agent to WhatsApp Business
- Widget Integration - Advanced integration for developers
Questions? If you need help creating your agent, contact our support team or refer to our troubleshooting guide.